So after many days of looking for answer in the forum and trying to figure our I build my online store using Snipcart. I know there are a lot of people here trying to do the same @KBConcepts so Im leaving you here a quick tutorial of how to set your shop using Snipcart and blocs.
In this case we will build an store to sell digital products but you can build anything you want.
So the first thing you need to do it check this page https://docs.snipcart.com/getting-started/installation
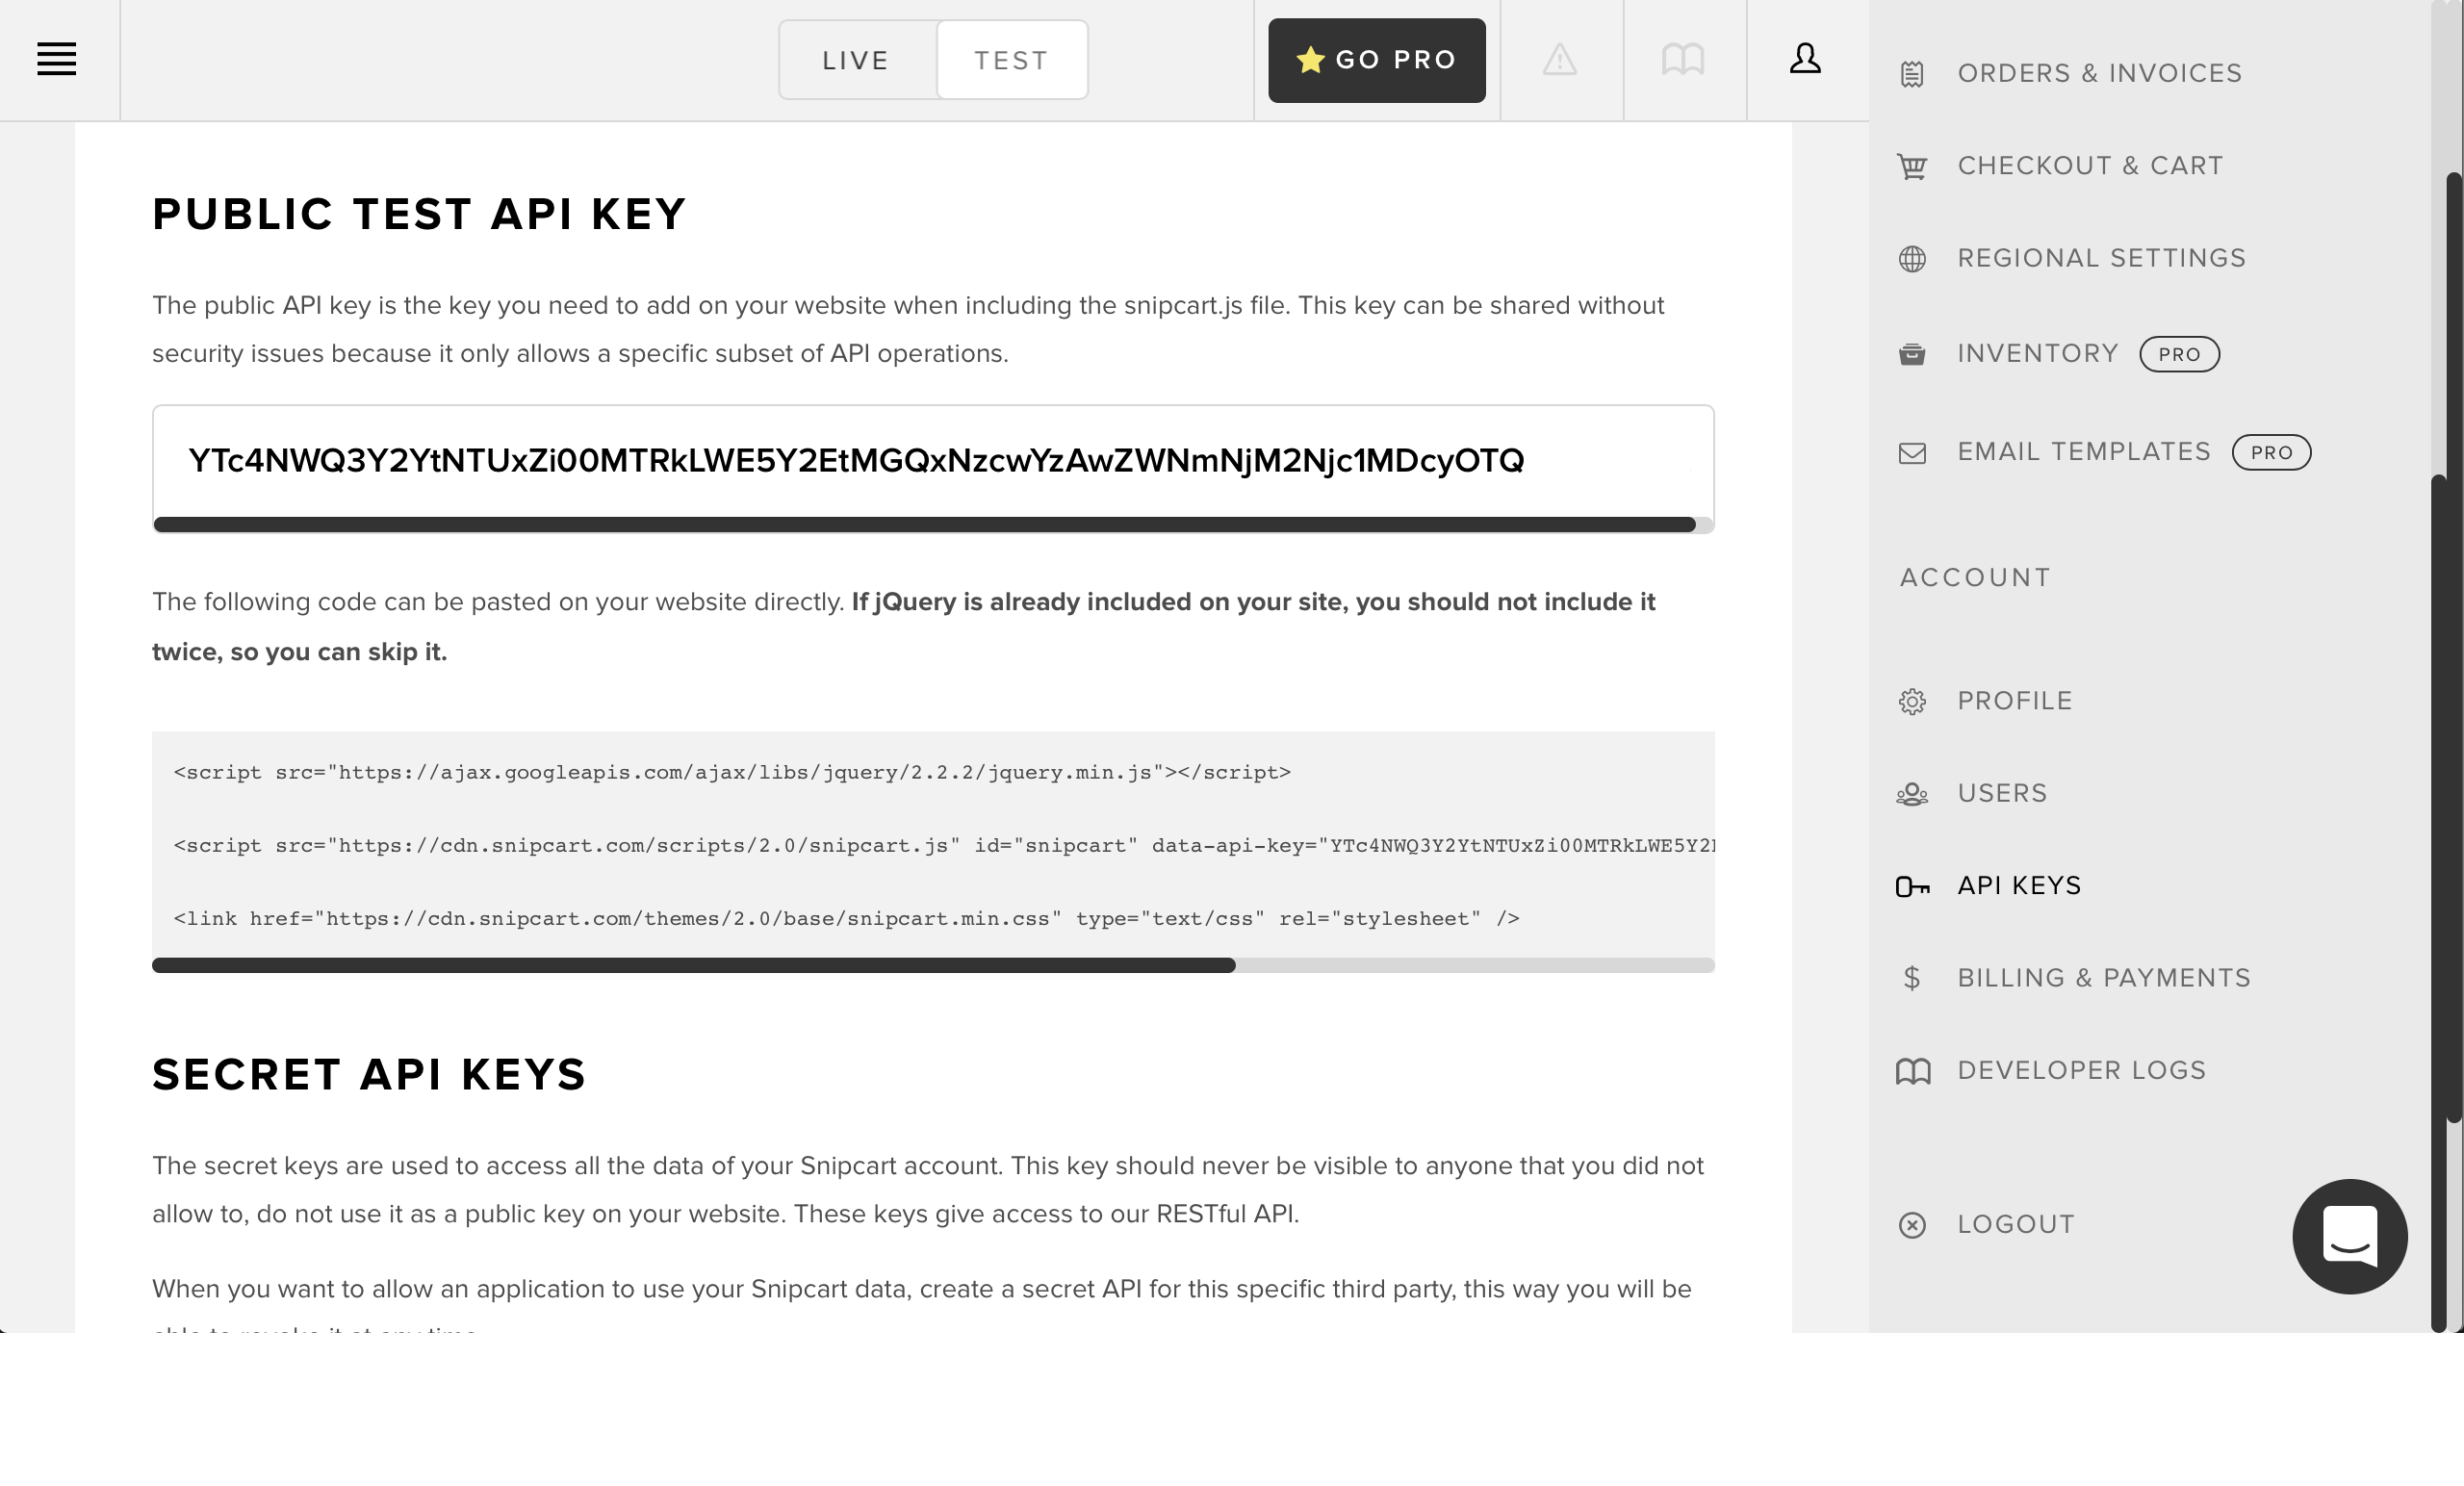
Once you’ve signed up and confirmed your account, log in and head to the Account > Credentials section, where you’ll find your API key. Notice that you’ll be in test mode by default, thus using your test API key. Once you have your API key, you will need to include the Snipcart javascript and CSS files before the closing head tag.
It looks something like this
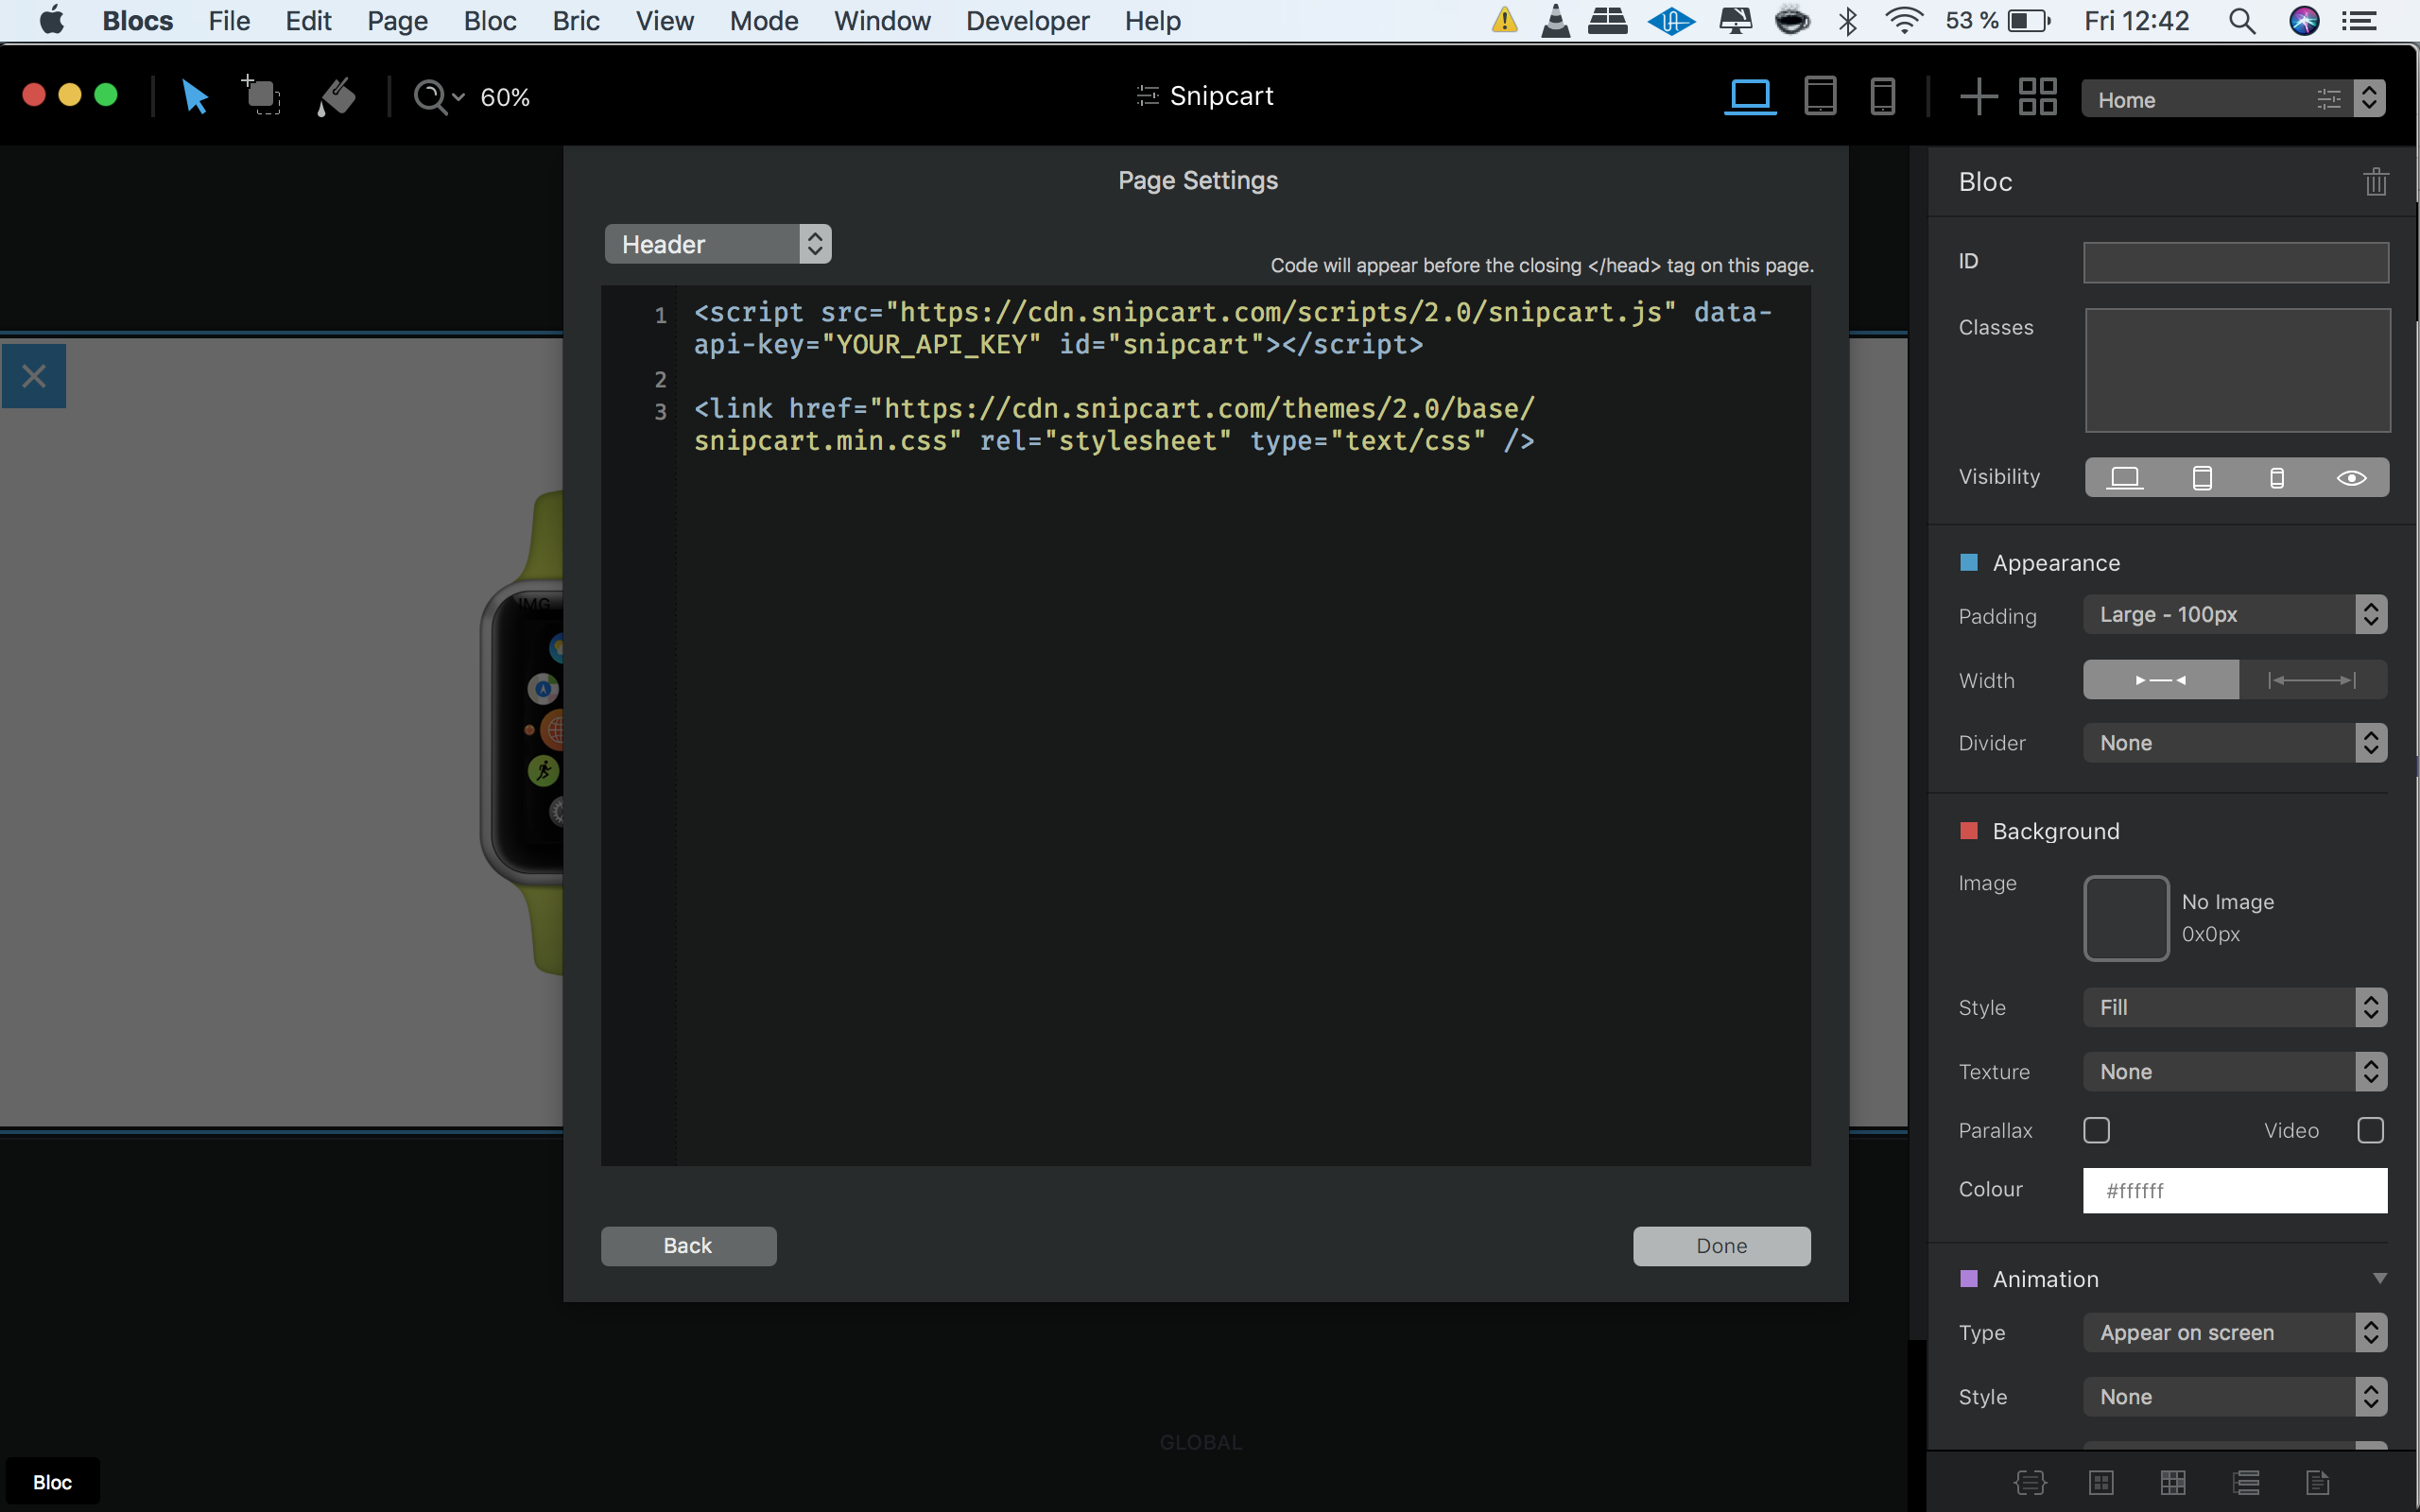
Ok once you have that you will go on the setting on your blocs page and ad the code:
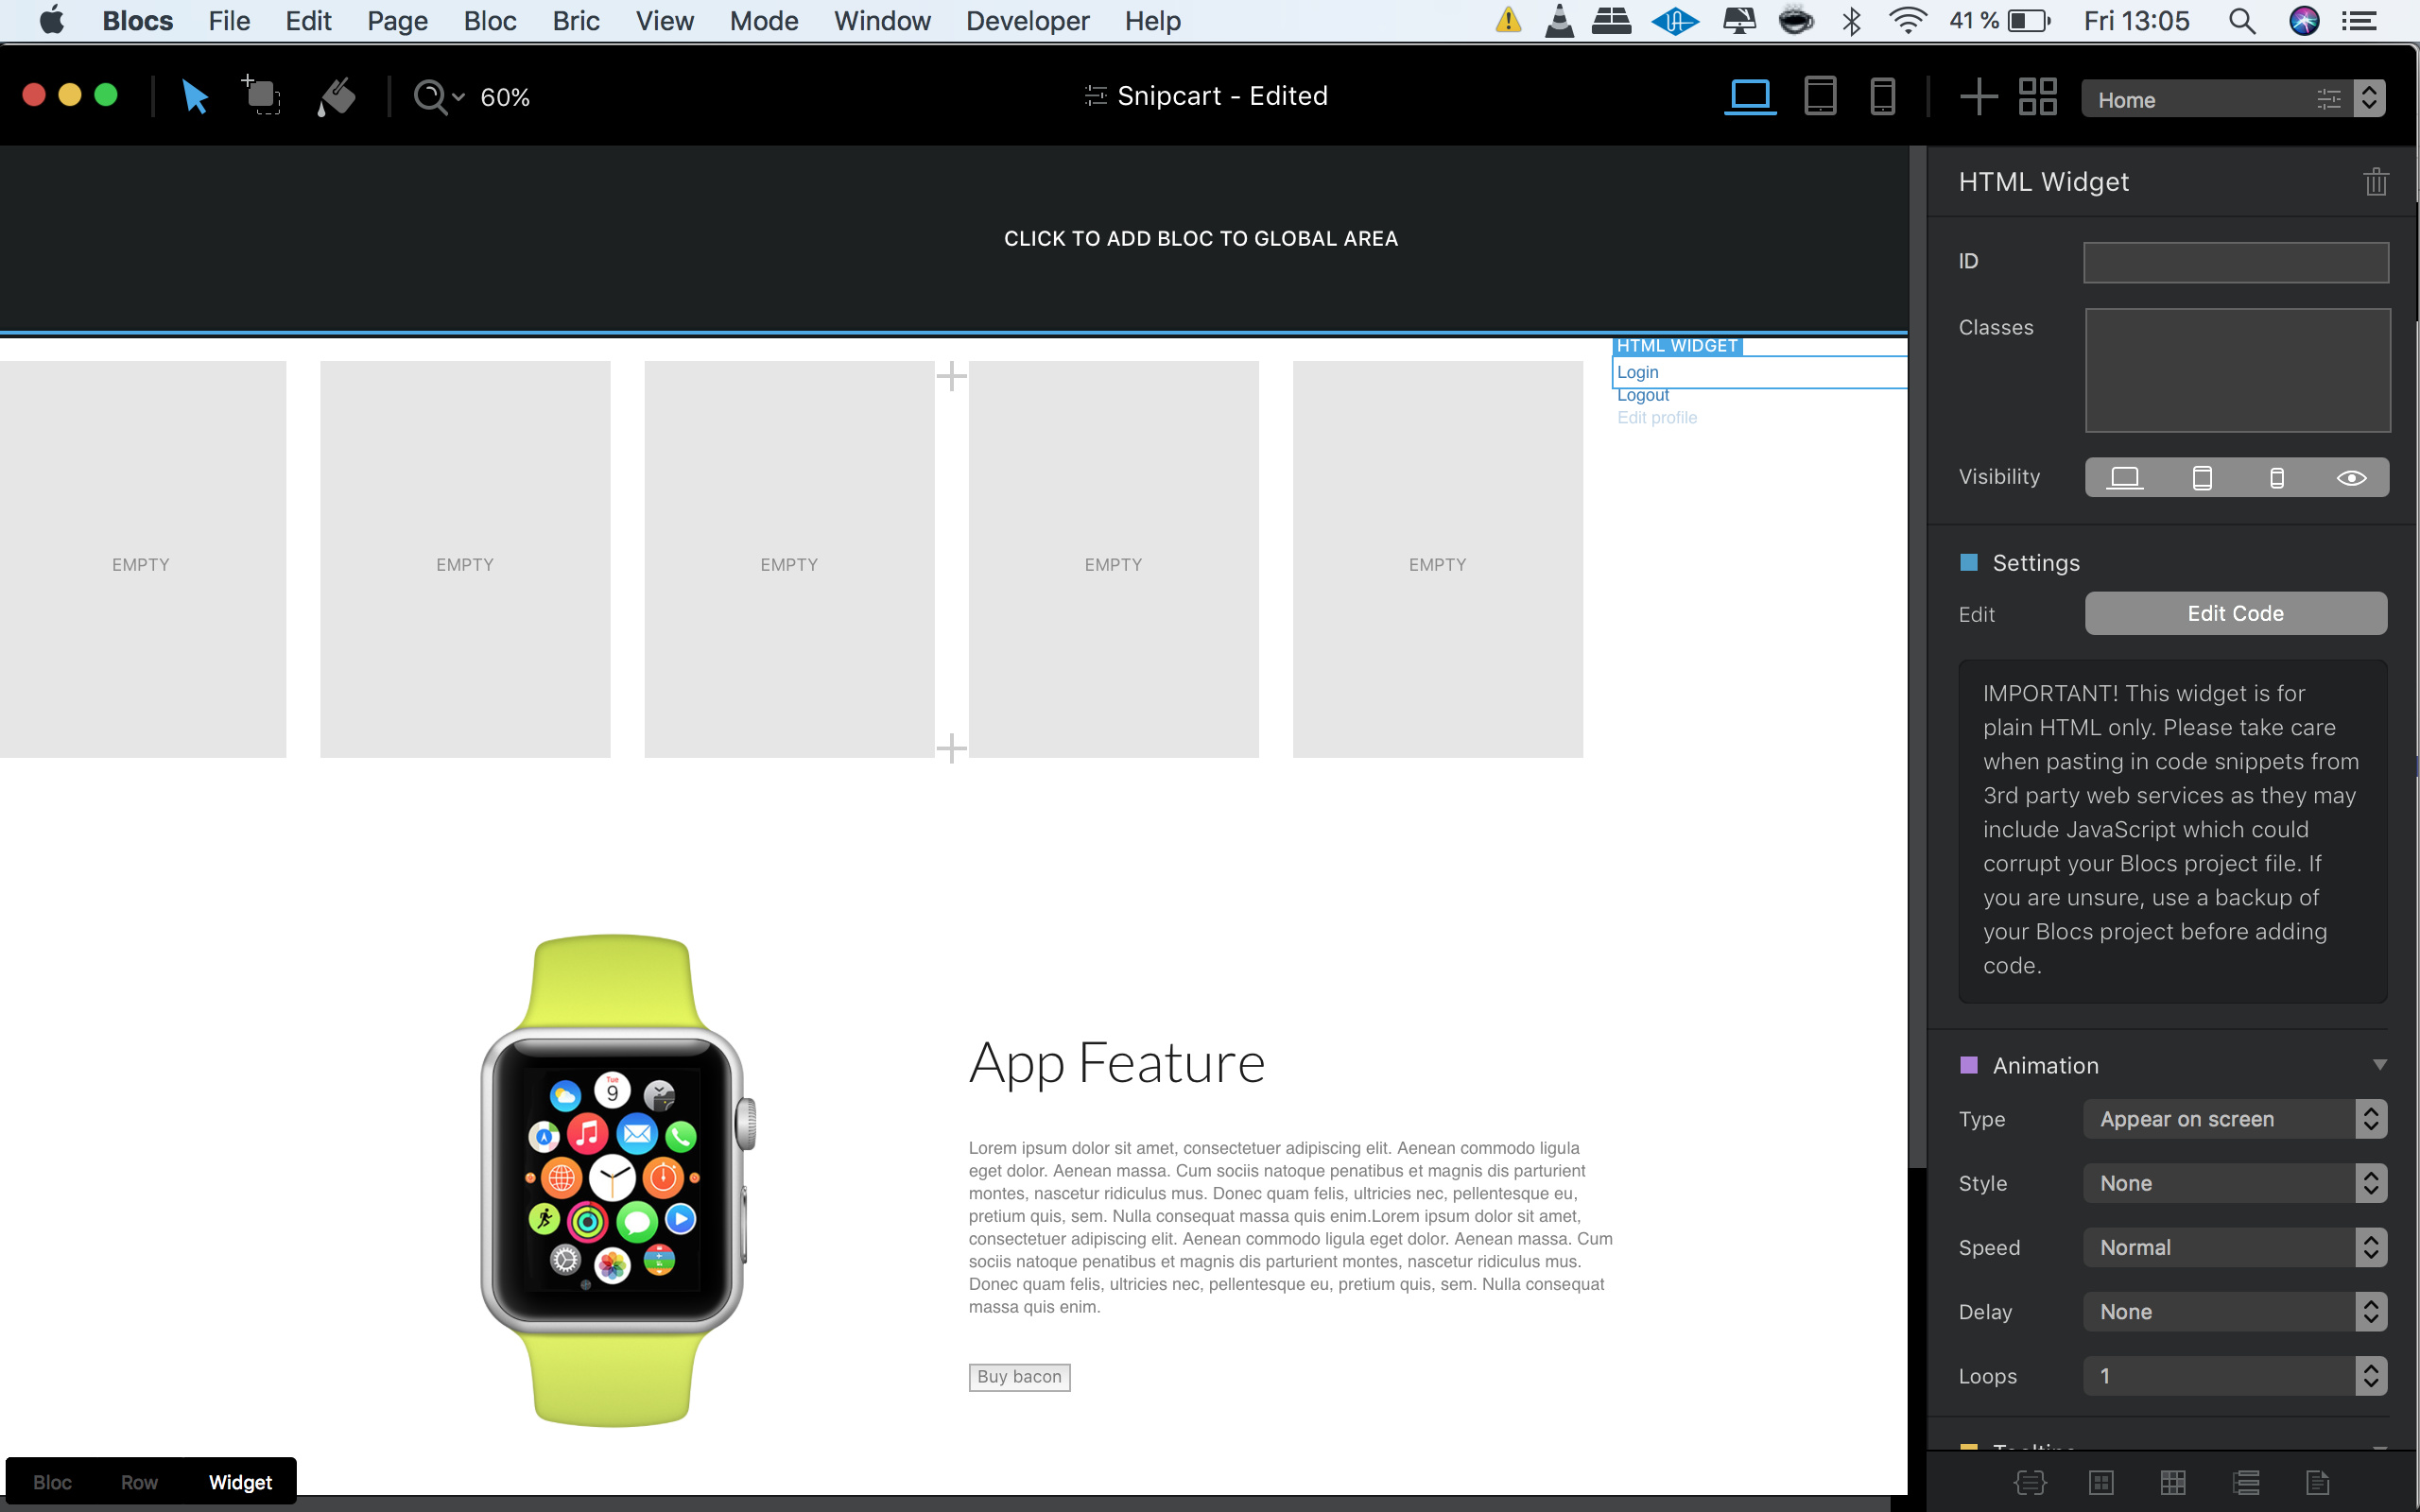
Next is to ad another bloc to the project so you can ad some code to create the customer dashboard to allow your buyer to create an account within the Snipcart cart.
You will need to go here first https://app.snipcart.com/dashboard/settings/cart-and-checkout make sure the Allow guests only option in the admin dashboard isn’t checked.
Then ad those three code for separately
Log in:
 <a href="#" class="snipcart-user-profile">
  <span class="snipcart-user-email">Login</span>
</a>*
Log out:
<a href="#" class="snipcart-user-logout">
  Logout
</a>
Edit customer profile and make sure you hide this one from your project
<a href="#" class="snipcart-edit-profile">
  Edit profile
</a>
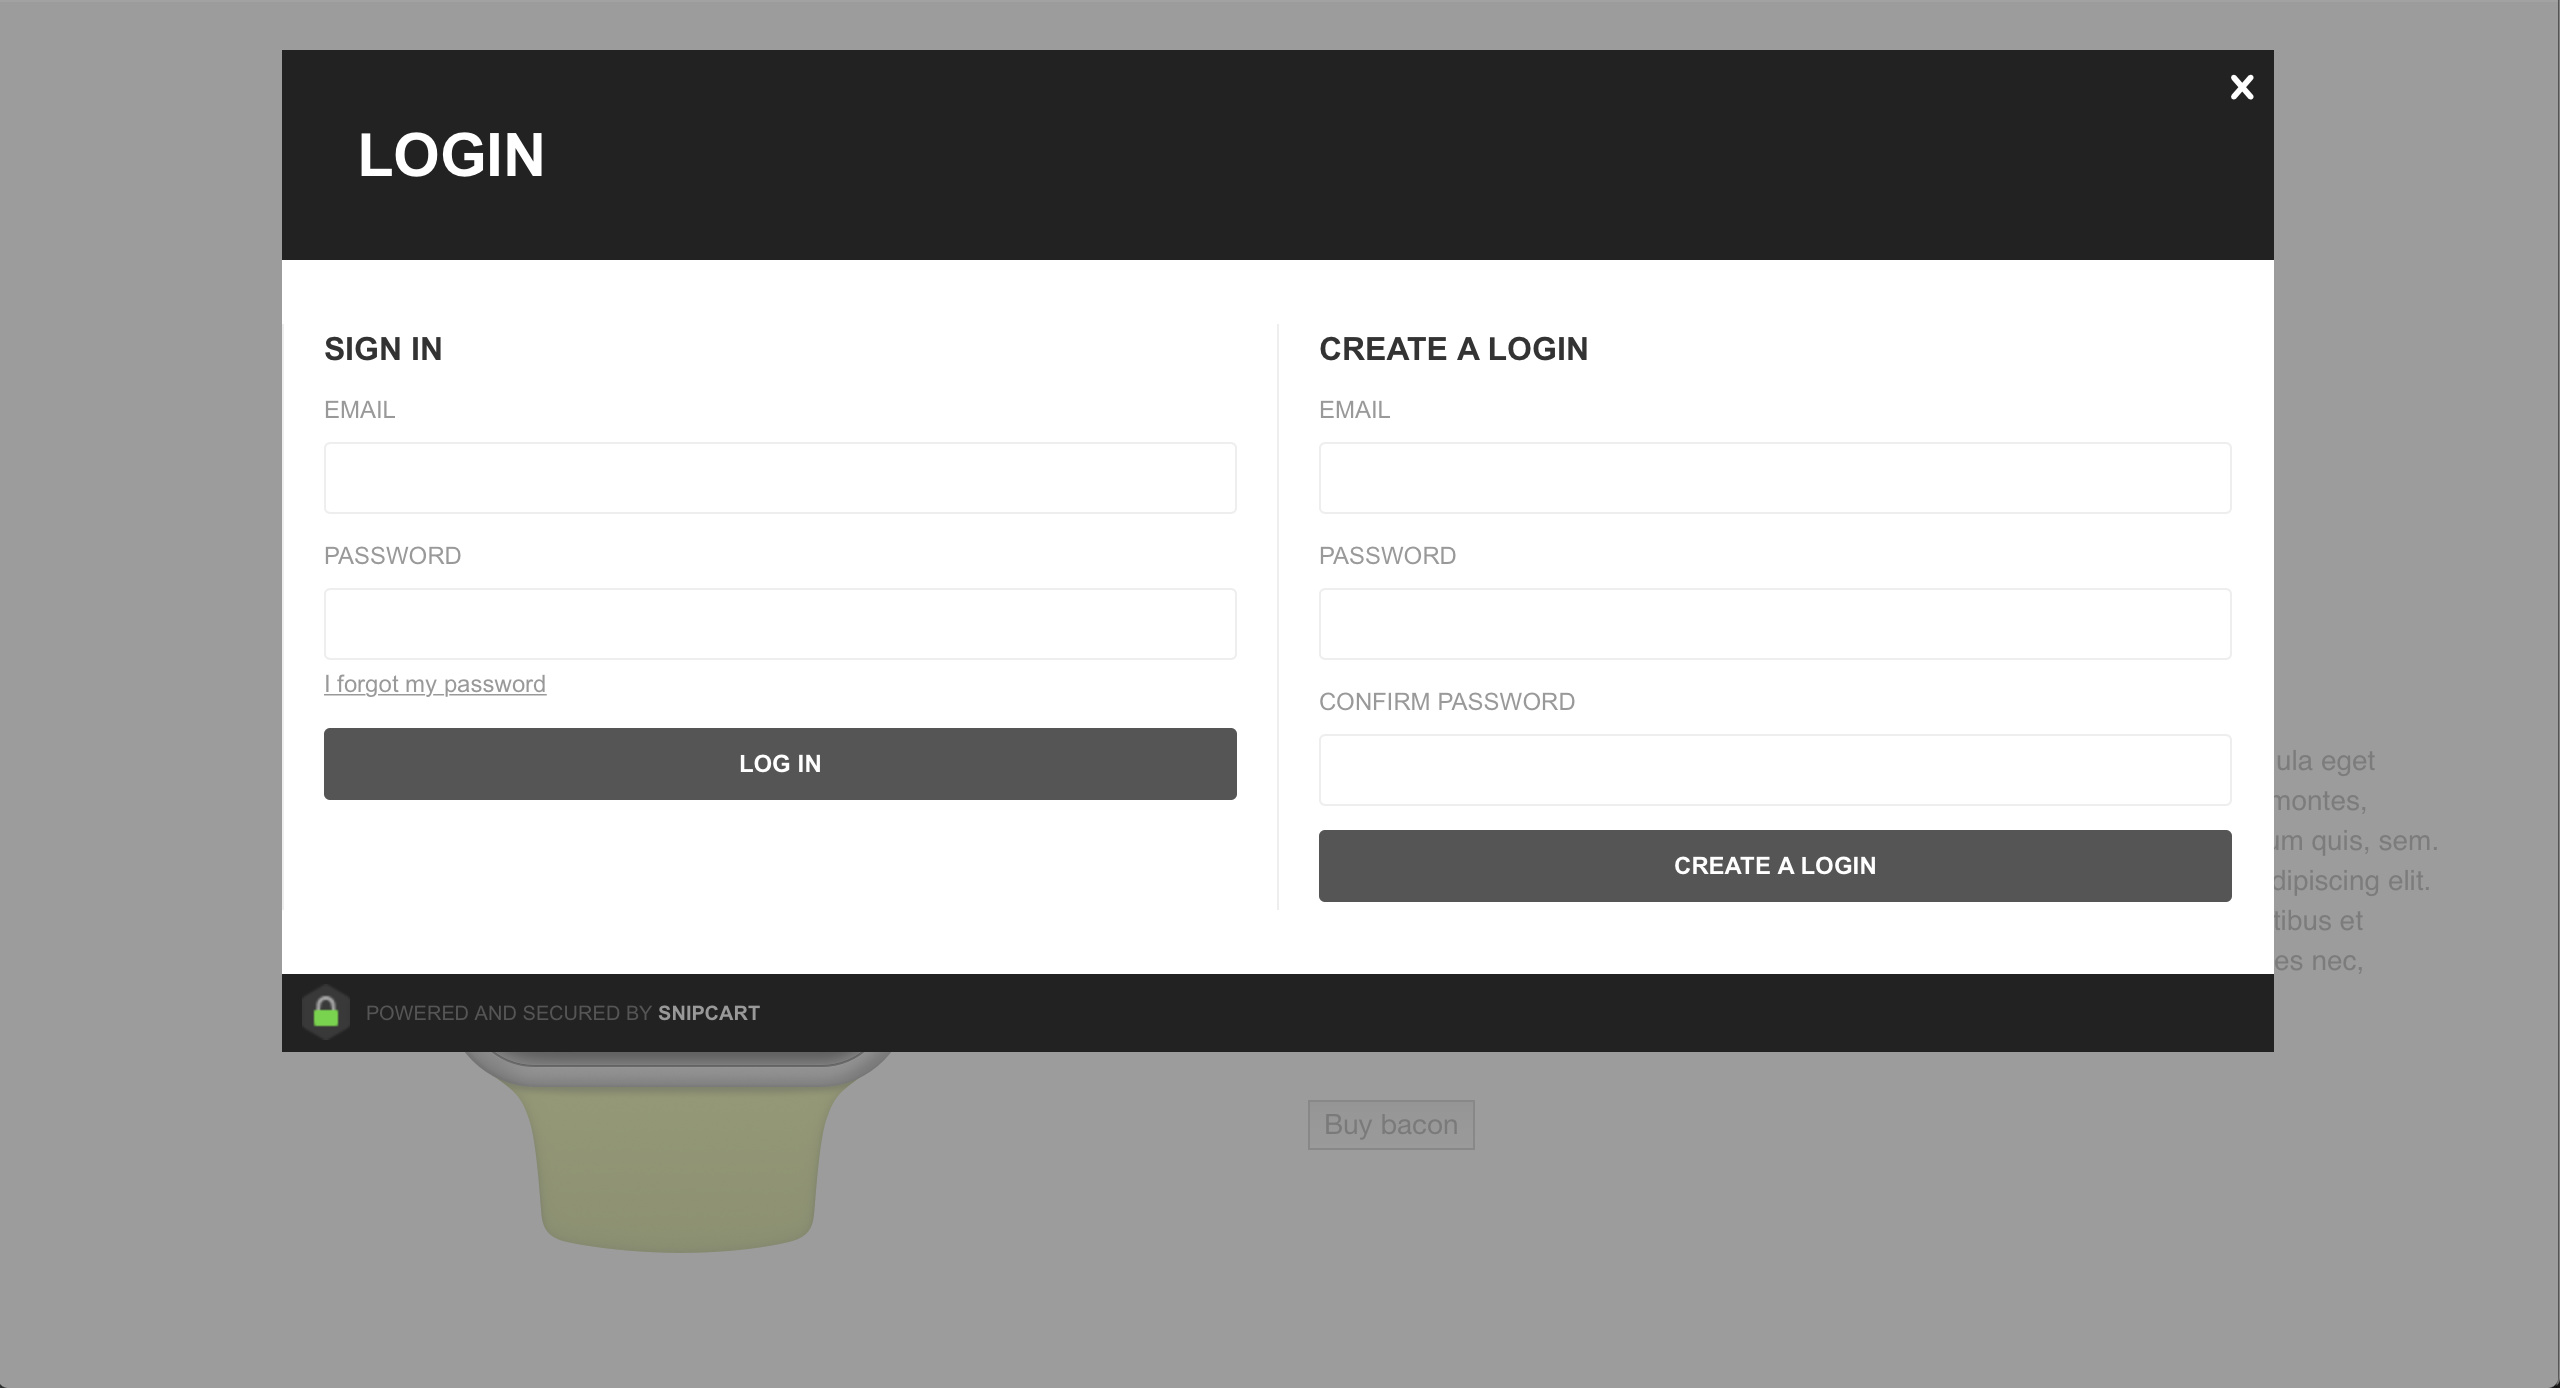
In the browser will look something like this
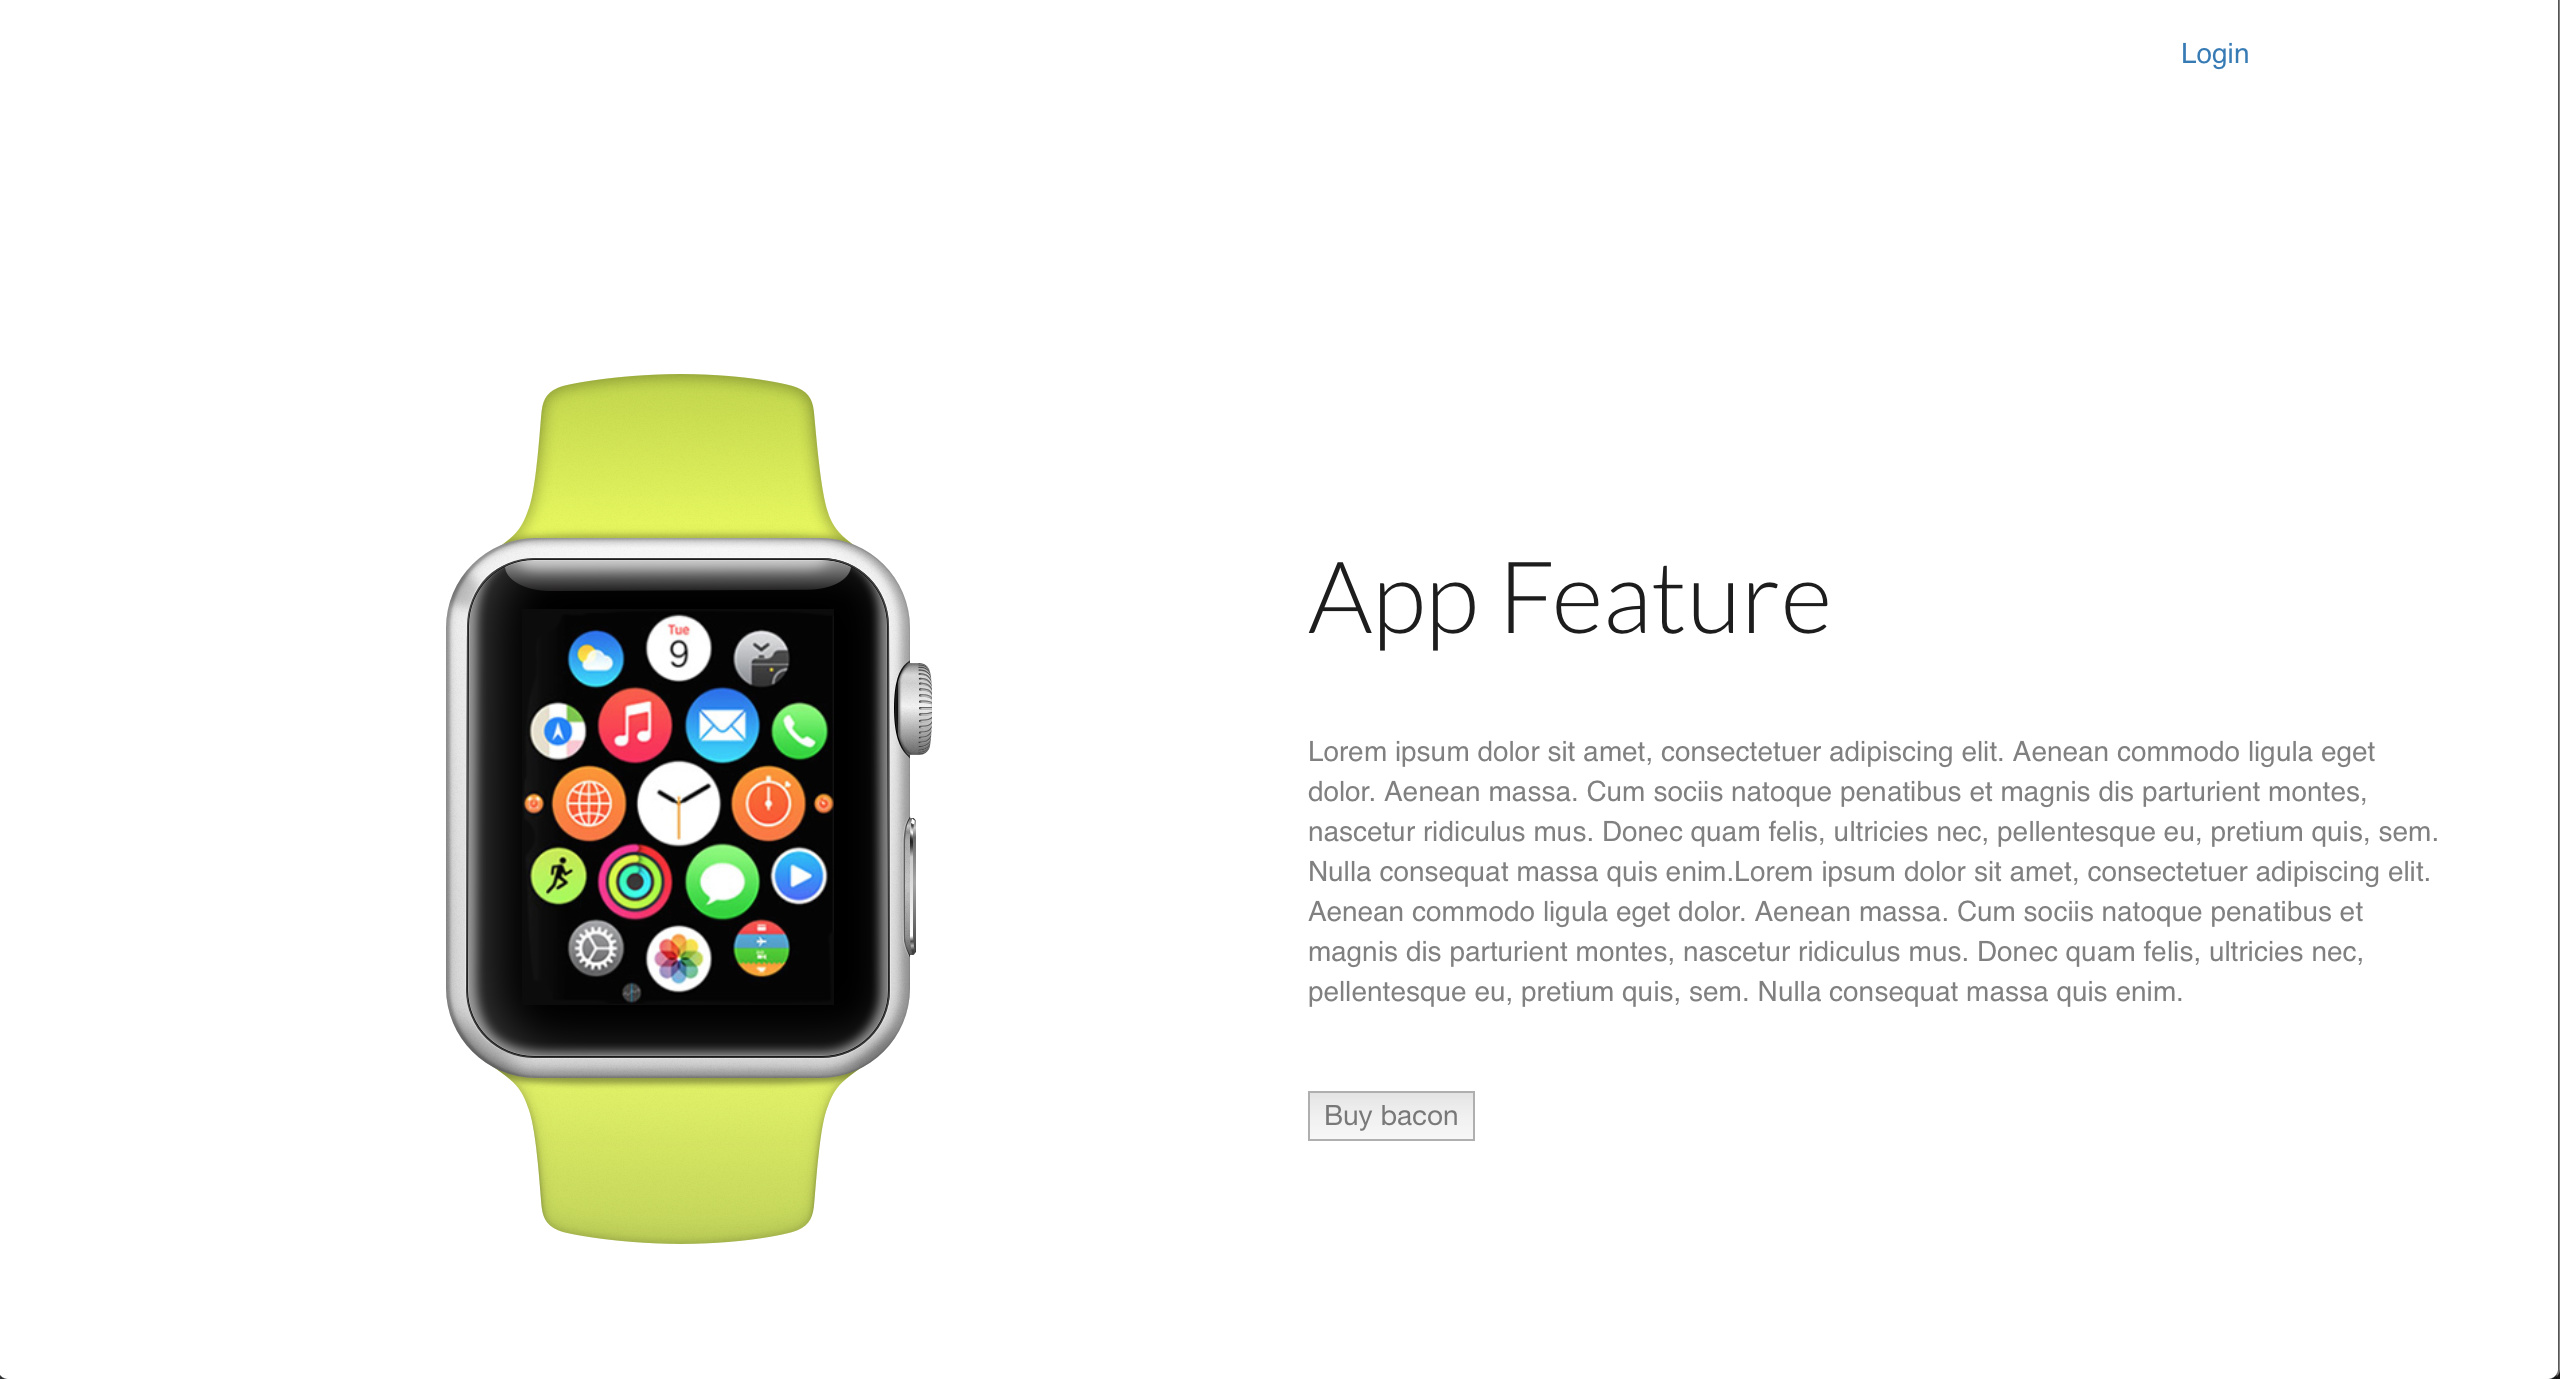
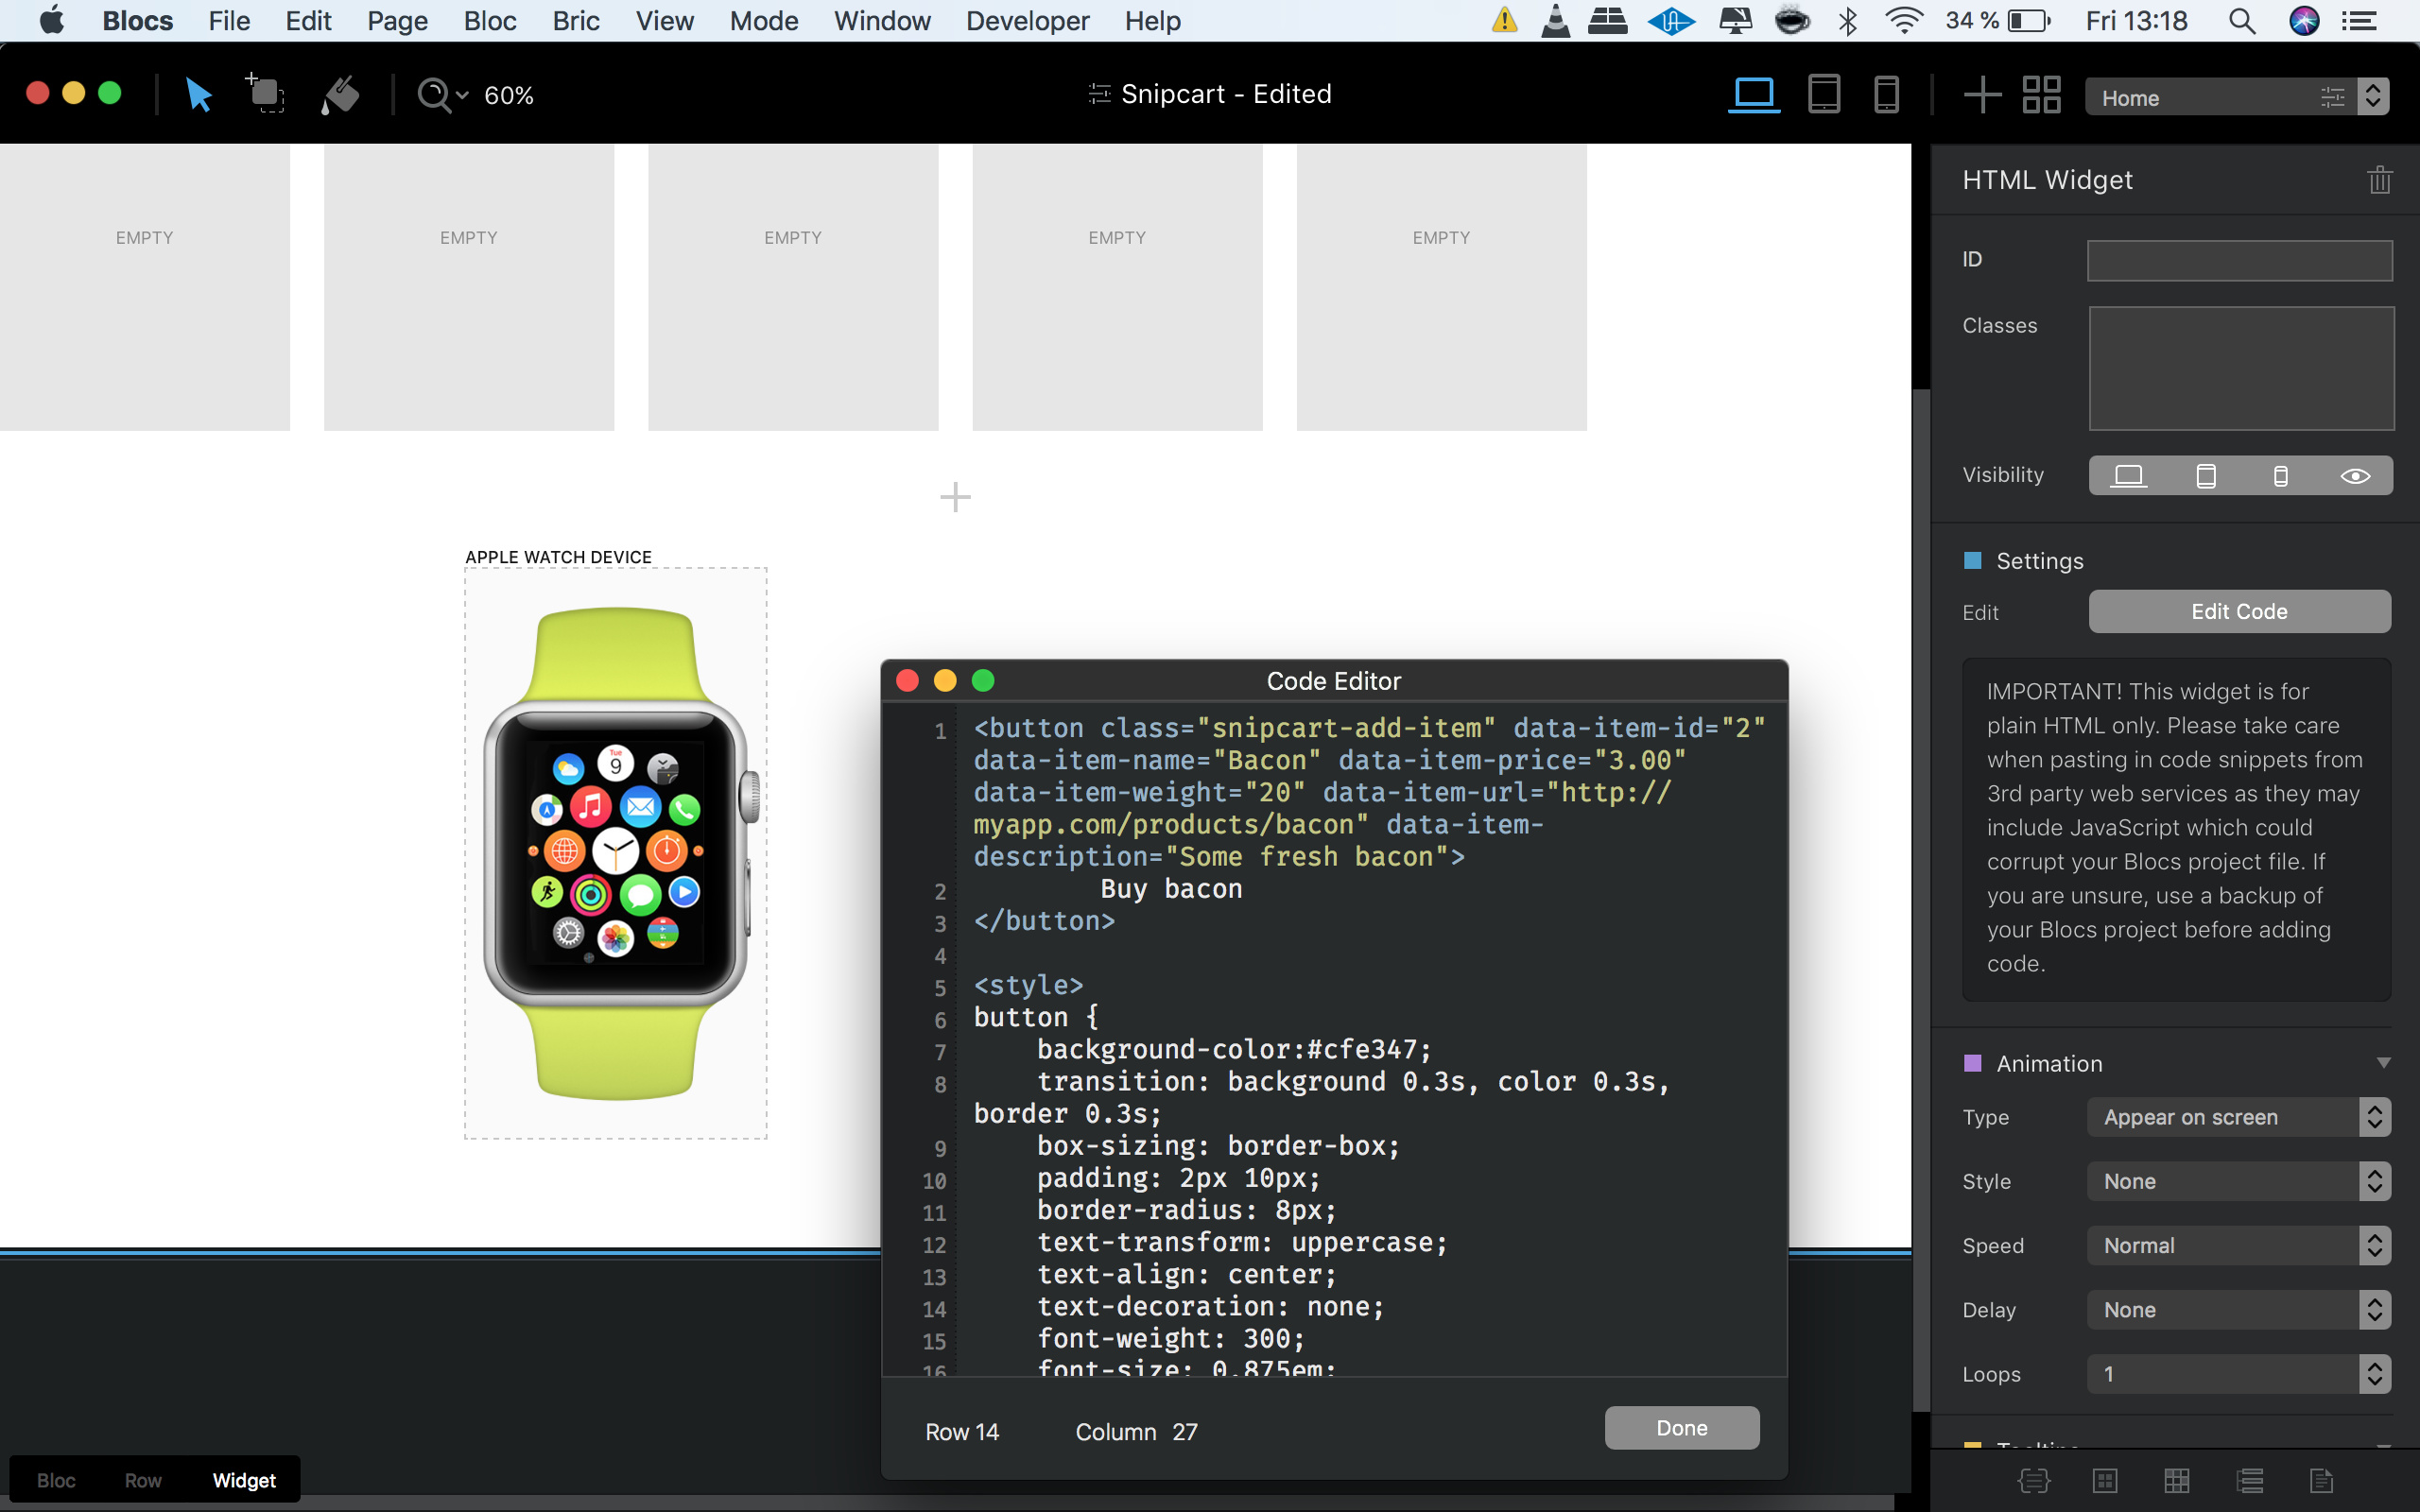
Now lets ad the button code anywhere you want on your project! I placed it were is says buy bacon as you can see already it and the code is this one
<button
    class="snipcart-add-item"
    data-item-id="2"
    data-item-name="Bacon"
    data-item-price="3.00"
    data-item-weight="20"
    data-item-url="http://myapp.com/products/bacon"
    data-item-description="Some fresh bacon">
        Buy bacon
</button>
Make sure you have a visit to the product definition page https://docs.snipcart.com/configuration/product-definition because for example in my store I needed to ad the data-item-file-guid as im selling digital goods.
Ok the code will give you a very ugly button and when you talk to the guys from Snipcart they will tell you is not possible to customise, the only way is by editing their css but I didnt got that far ![]() so I found out by messing around that by adding part of the code from the plug in they have for @pulsecms I was available to change the colours of the button and the size.
so I found out by messing around that by adding part of the code from the plug in they have for @pulsecms I was available to change the colours of the button and the size.
The code will look something like this
<style>
button {
    background-color:#cfe347;
    transition: background 0.3s, color 0.3s, border 0.3s;
    box-sizing: border-box;
    padding: 2px 10px;
    border-radius: 8px;
    text-transform: uppercase;
    text-align: center;
    text-decoration: none;
    font-weight: 300;
    font-size: 0.875em;
    line-height: initial;
    outline: none;
    cursor: pointer;
}
button:hover {
	background-color: #aaaaaa;
    color: #eaeaea;
}</style>
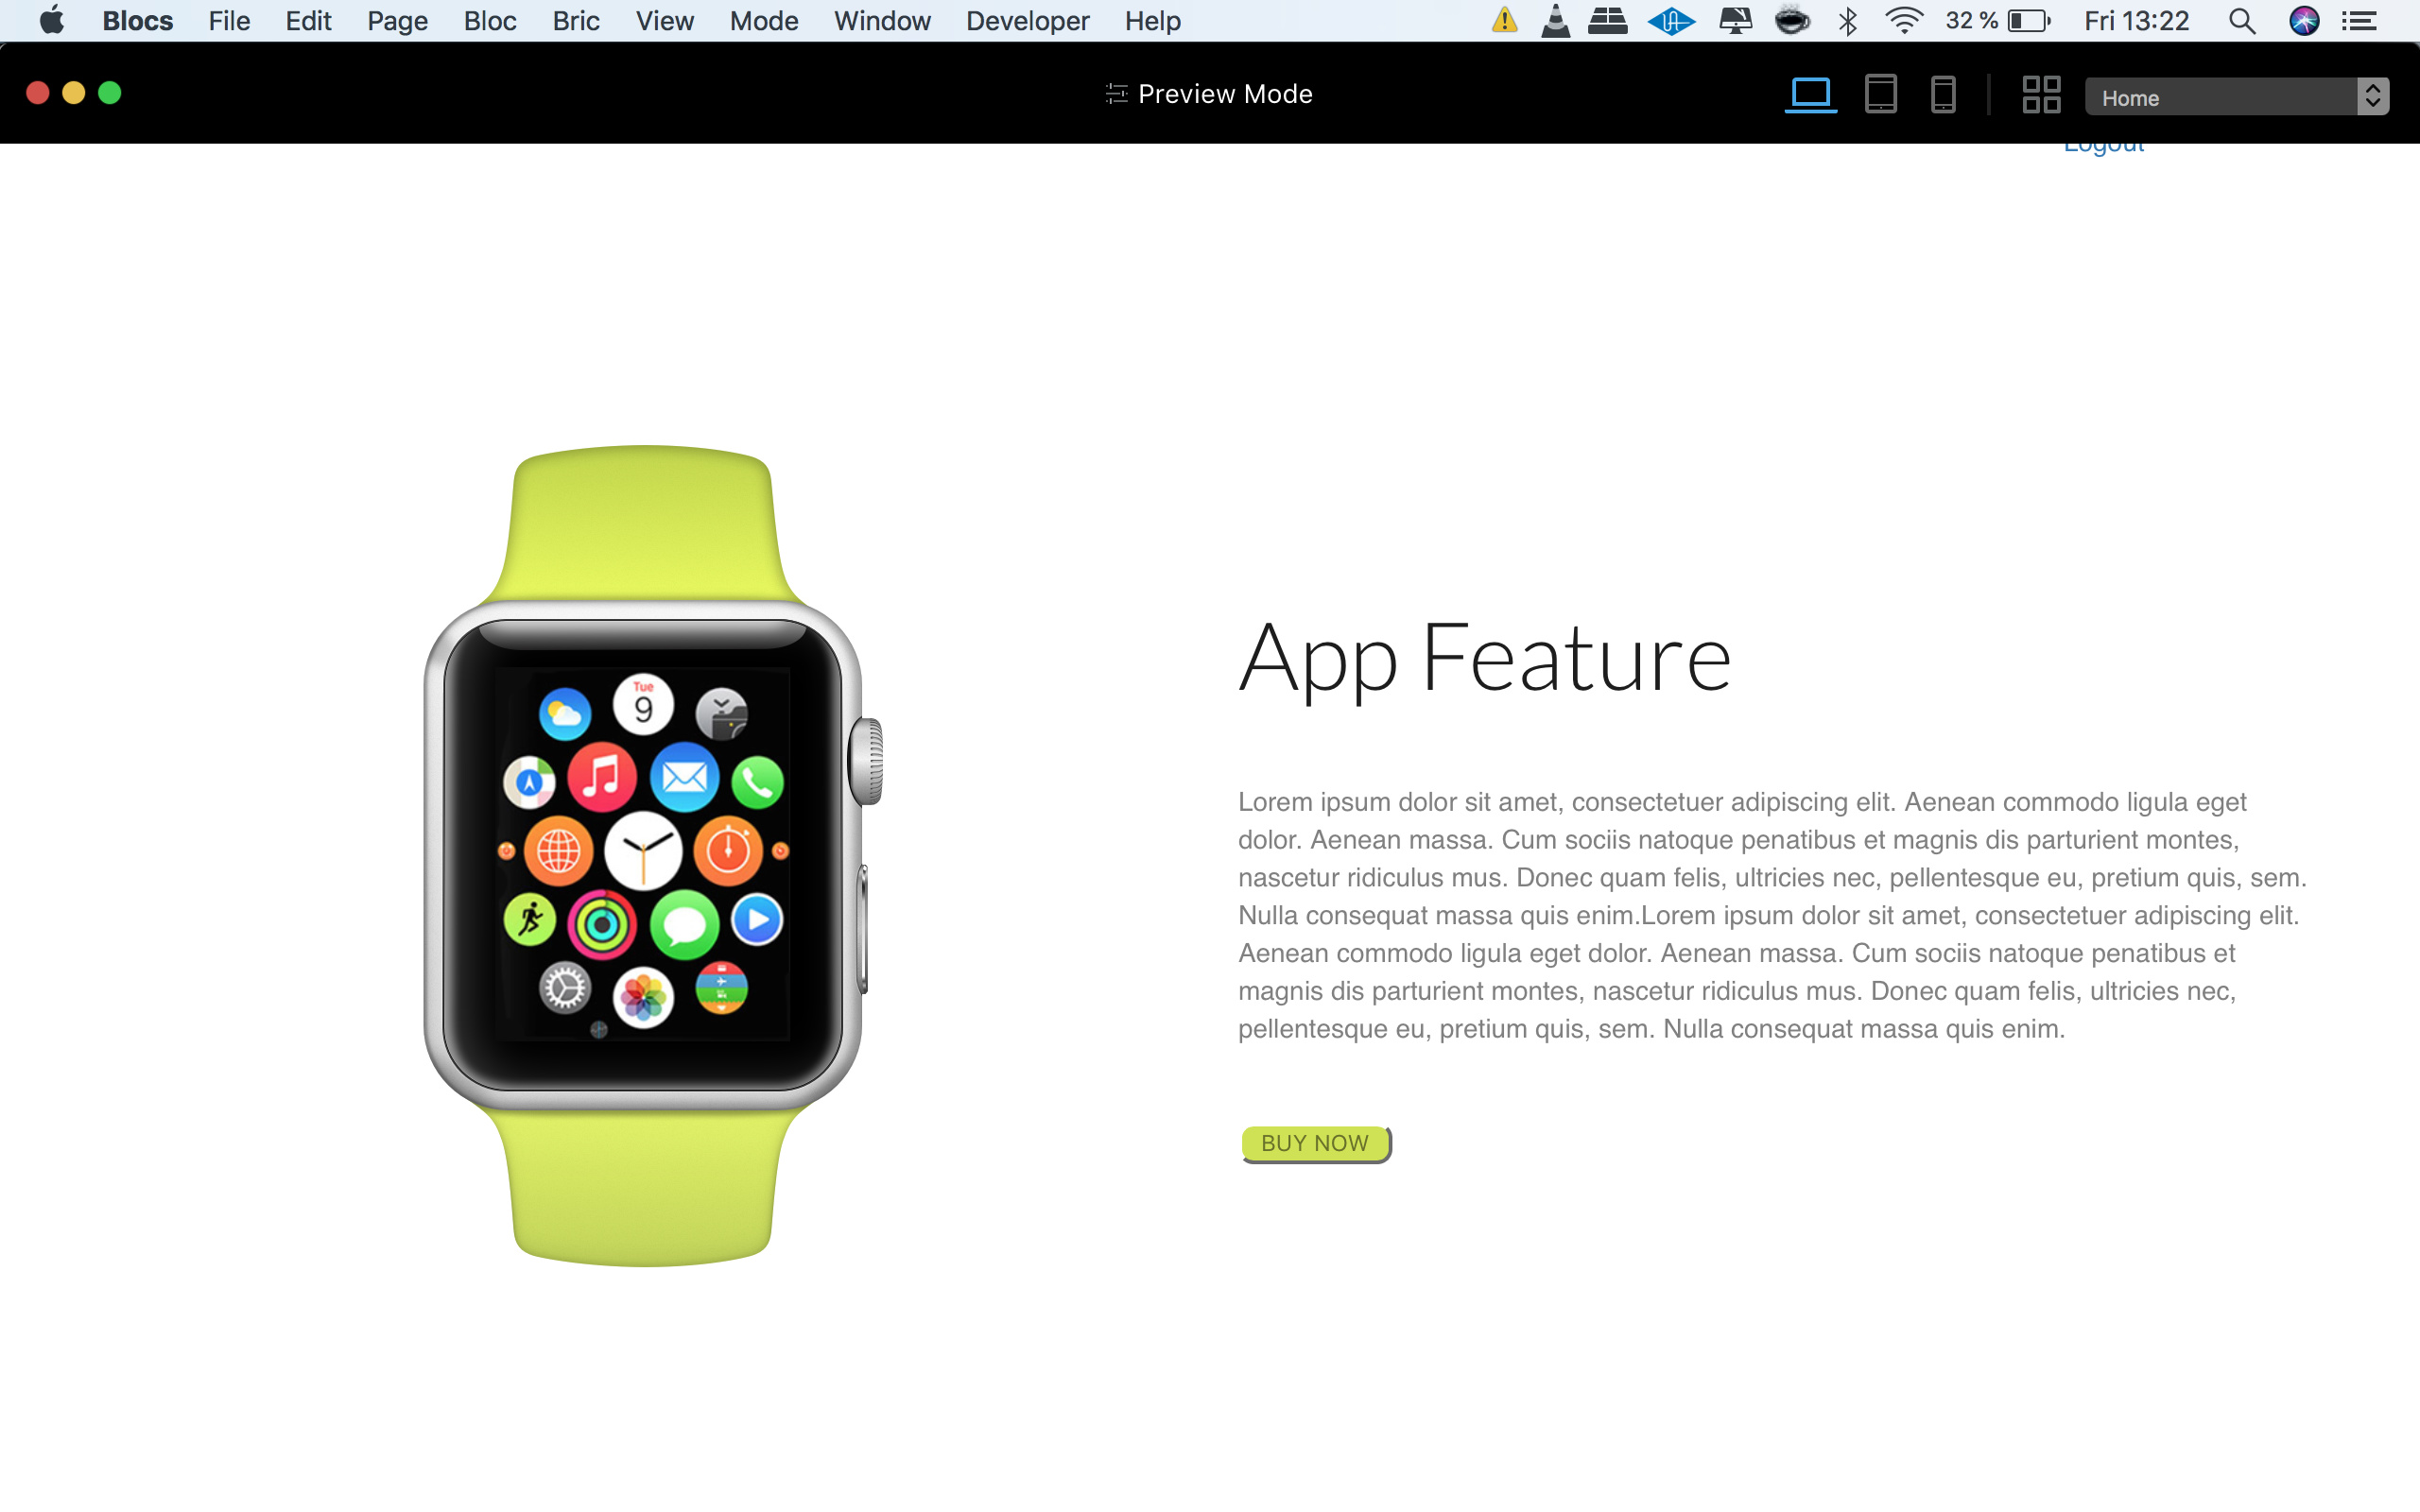
Now your button will look like this

And that was all! once you finish all the steps you will be available to try your site, you will need to upload it on your server in other to work also make sure you write good the url of where do you have your product for example www.store.com/applewatch

You can change the name of the button and the price also in the code
Each data-item-id needs to be different can be numbers or a name if you have same name more than once the button wont work, you can read about it on the documentation page in snipcart https://docs.snipcart.com/configuration/product-definition
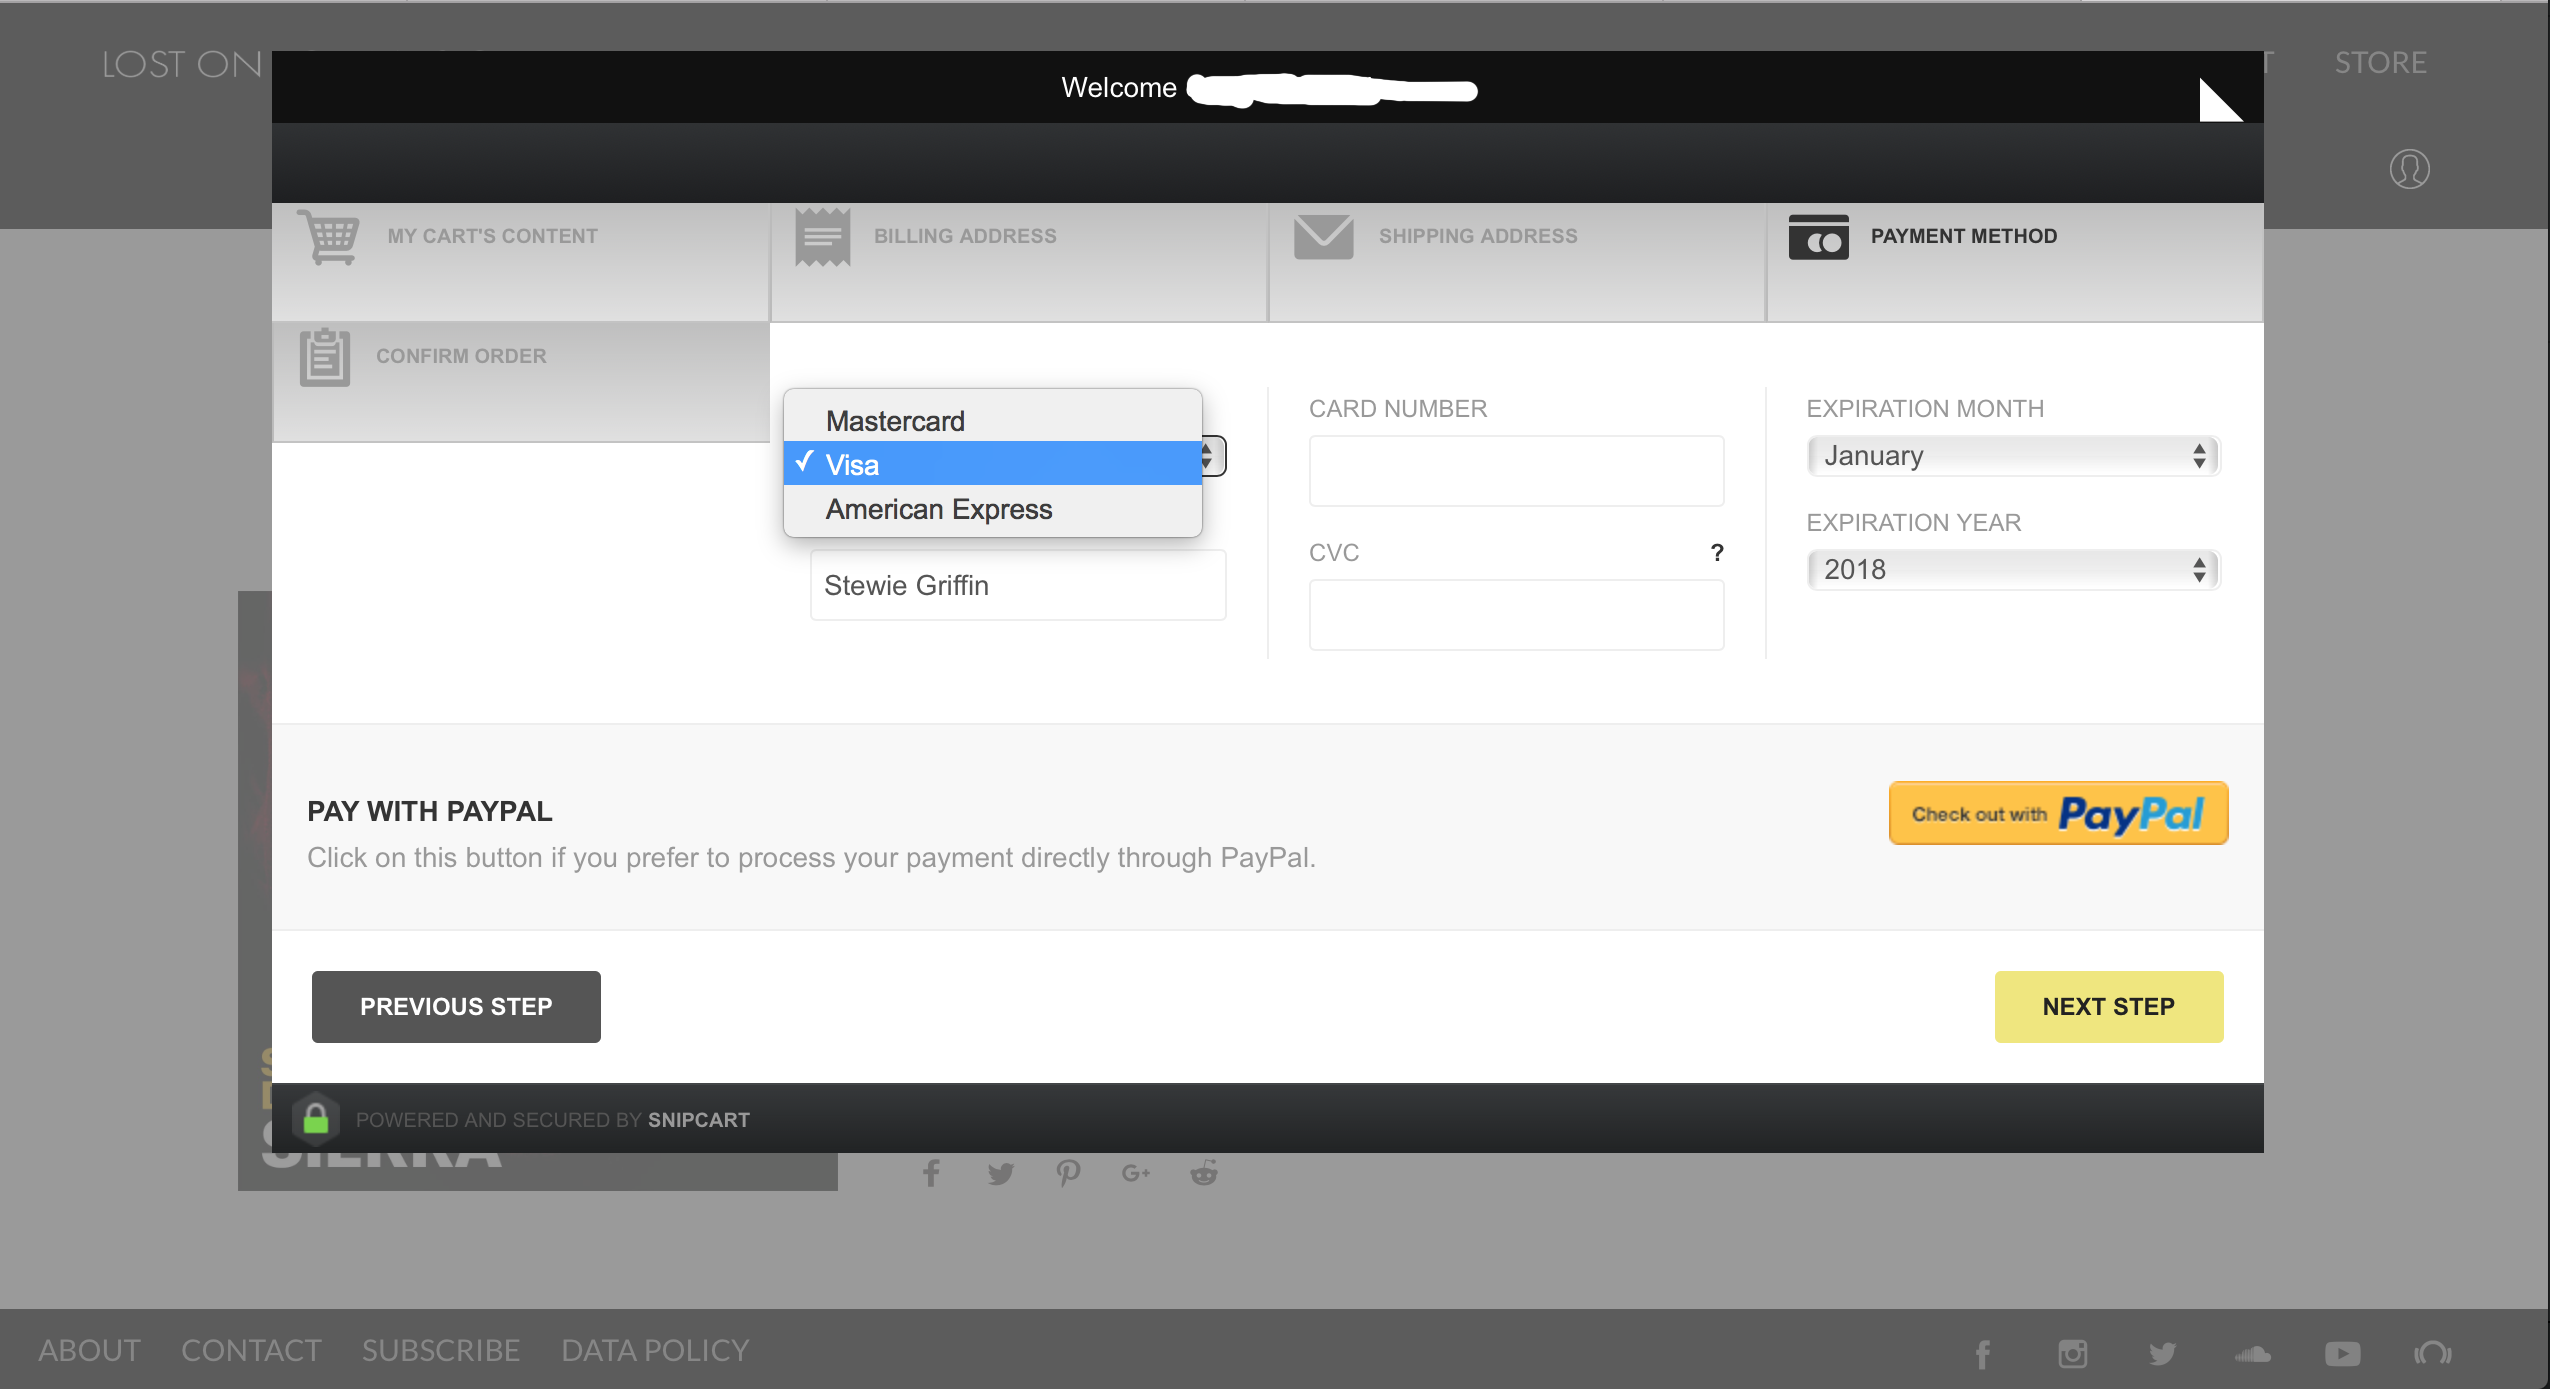
So once everything is set and working you can switch from test to live mode, you will need to ad your credit card to get your new Api key and set up a payment getaway so you can accept credit card and paypal.
I Think stripe is the cheapest option but their are all about the same, so first set stripe and then on the button of your payment getaway you can add paypal
If everything went well and you managed to set up good your page it should look like this at the end
Now there is so much more you can do, at taxes, Multi-currency, Discounts but that is now more easy as your shop is set up, you just need to ad the code of want you want into your page.
You can also do a full customisation so your shopping cart will look like your website, that I wasnt available to do it as I have no idea of how to work with the css code so Im leaving here the link to the tutorial for if someone will like to explain how to do it step by step ![]()
[Customization – Snipcart Documentation]
So I think this is it! How you can manage and find it useful to to set up your shop. Any other tips please feel free to post it here ![]()

