Hi Everyone!
Another bric of mine is finished, hope you enjoy it. 

TimeGate
Time-scheduled content. Set when something should appear or disappear on your page — and have it genuinely removed, not merely hidden.
- 6 — scheduling modes
- Server — content is truly removed, not hidden
- Live — continuous feedback in the editor
- Auto — the page refreshes itself at the switch
Time-scheduled content — decide when an element appears or disappears. Handled properly, on the server.
Got a sale banner that starts at midnight on Friday? A Christmas message that has to be gone in January? An “we’re open” box that needs swapping for “we’re closed” in the evening? Set the date and the time, and from then on it happens by itself. No getting up at night to switch something off.
Why does server-side matter? Most similar solutions merely hide content — it’s still sitting in the page source, just not visible. Anyone can look, and Google can index it. TimeGate instead genuinely removes the content before the page ever reaches the visitor. If it isn’t due yet, it doesn’t exist. That difference matters when you’re dealing with prices, promotions or anything confidential.
The six modes
| Show at | Hidden until the given moment, then it appears and stays. E.g. launching a sale banner. |
| Hide at | Visible until the given moment, then it’s gone. E.g. an application deadline. |
| Visible between | Only visible between two moments. E.g. a weekend offer. |
| Hidden between | The reverse: hidden only during that window. E.g. a section under maintenance. |
| Swap at | Switches from one element to another at the given moment. E.g. “Coming soon” → “Now live”. |
| Swap between | The second element shows during the window, the first one otherwise. E.g. a different box during opening hours. |
Setting it up
- Give the element you want to schedule an ID in Blocs. For swaps, give the second one an ID too.
- Drop the TimeGate Bric onto the page and enter that ID.
- Choose one of the six modes.
- Set the date — year, month and day from separate dropdowns — and the time. Pick either 24-hour or AM/PM format.
- Done. It works by itself on the live site.
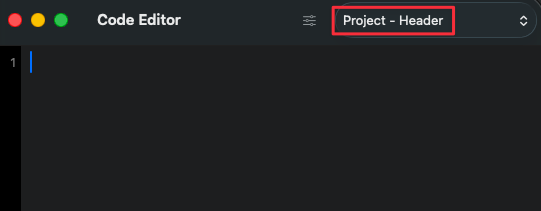
All of this needs one single setup step for the whole site: in your Blocs project settings, set the page type to PHP and paste one line into the header. There’s a “Copy PHP code” button for exactly this — one click and it’s on your clipboard. You only do this once, not per Bric.
Live feedback in the editor
You don’t have to export to find out whether you set it up correctly. The Bric continuously displays its current state in a status bar: which mode it’s in, which element it affects, and with which dates. And it tells you when something’s off:
- You entered dates but didn’t choose a mode.
- The date is incomplete (the day is missing, for instance).
- The date doesn’t exist (30 February).
- The time format is wrong — and it tells you exactly what’s expected (“no leading zero”, “minutes must be 00–59”).
- The hide time is earlier than the show time.
- For swaps, the second element’s ID is missing, or it’s the same as the first.
- You filled in a field the chosen mode doesn’t use — it flags that this will be ignored.
Visual marking in the editor
- You can have the affected element outlined in the editor, with a small label above it showing its ID.
- Two separate colour pairs (outline and label) for the first and second element — all four freely adjustable. With swaps, you can tell at a glance which is which.
- This is editor-only; none of it reaches the live site.
What it handles for you
- Automatic refresh at the switch — if a visitor leaves the page open and the scheduled moment arrives, the page refreshes itself so they see the correct content. It also re-checks when they return to the tab or window.
- No stale caching — it sets the headers needed to stop any layer in between from serving an out-of-date version.
- Fail-safe — if anything unexpected goes wrong during processing, it errs on the side of hiding the content rather than accidentally revealing something that shouldn’t be visible yet.
- If you forget the setup — when the PHP part isn’t active, a clearly visible warning box appears on the page with the exact steps and the line to paste. So you never mistakenly believe your content is protected.
- Accurate element handling — nested elements are handled correctly, so nothing else gets accidentally cut out of your page.
One thing to keep in mind: scheduling runs on the server’s clock, not the visitor’s device. That’s the right behaviour — everyone sees the switch happen at the same moment, anywhere in the world.