QUESTION: Popup Menu inside EMAIL FORM?

I’ve never used Email Forms in Blocs before, but now I need to create one. I currently have the left sidebar setup like this…

And my form on the page looks like this…

Note the selected DIV in the above. That’s where the MESSAGE should be entered.

Is it possible to eliminate that MESSAGE field and in its place put a popup menu that lets the user select one of several predefined message choices? That way, the user doesn’t need to type anything but their name & email, then they choose something from the popup and click the SUBMIT button. That makes form submission faster and easier.

If it is possible, how do I go about it?

Thank you!

Hi @JDW
You can delete the message section (including the header) and replace it with an ‘option select’ item, which can be customised with the ‘Open Select Editor’ to the right of the window.
The inbuilt forms are quite customiseable (is that a word?).

1 Like

So….

Because I want the user to select between 3 sentences of text, I should type those sentences into the “Title” field shown below and just leave the “Value” field contents alone? (Instead of “Option 1” text in the Title field, I would type my preferred sentence?) Then when the form is submitted, whatever was chosen in the popup would be sent in the email?

Next question…

How in THE world do I get text inside that popup to be CENTERED?

Despite having added a class as shown below, it refuses to obey!

I also applied the same text-centering Class to the parent “DIV Container: Form Group” and also to “Select” but it still won’t center!

Wanting a speedy answer, I consulted with ChatGPT, but even its recommended CSS code (applied to “Select” failed to center-align the popup menu text). So ChatGPT told me to either live with the left-alignment, or use an “Overlay hack” or use a custom JavaScript replacement for the popup menu. All a bit ridiculous since I only want to center the text inside the popup menu.

Maybe @norm would know?


And just to let everyone know, you can’t just delete (or set it Exclude From Export like I did) because when you upload your Blocs-exported pages to your web server and then test, it will say it submitted the form, but no email will arrive. I used ChatGPT to scan the error log file (found on my web server), and it determined the failure was due to a missing “message” field — the very one I didn’t export.

The FIX is to change the “select_1052” ID of your popup menu’s “Select” item in the left sidebar to “message”, and then you should receive an email. (But you will first need to rename the ID of your original message to something else, unless you delete it entirely, and then there won’t be an ID conflict.) But you will also need to make sure there’s no checkmark in the “Required” field, or no email will be sent.

In the end, I found it’s best to delete the message field entirely. Because if you only set it to “Exclude from Export”, then the email you receive will include this line (if your ID is set to message_bak, that is):

Message_Bak:

Delete the message item from the left sidebar will eliminate that bothersome text in the emails you receive.

As described in my previous post today, the form I made is now sending us emails, albeit without any text CENTERING in the popup menu. :thinking:

One big problem with Blocs forms is they are made for English speakers only by way of using the English ID names in the generated emails like this:

Name: 田中加藤
Email: test@test.com
Message: Bコースを申し込みたい

I asked ChatGPT for a solution. It warned me against using Japanese in the ID names. Instead, it hacked the Blocs-generated PHP file as shown below. Not ideal because if I need to change the form, it will alter the PHP file, and the hacks will be lost. But at least the hacks convert the English into Japanese like this:

お名前: 田中加藤
メールアドレス: test@test.com
ご希望コース: Bコースを申し込みたい

<?php
	use PHPMailer\PHPMailer\PHPMailer;
	use PHPMailer\PHPMailer\SMTP;
	use PHPMailer\PHPMailer\Exception;
	require 'PHPMailer/Exception.php';
	require 'PHPMailer/PHPMailer.php';
	require 'PHPMailer/SMTP.php';
	/* --------------------------------------------------
	   Basic validation (generated by Blocs)
	   -------------------------------------------------- */
	if (
		(empty($_POST['name']) && strlen($_POST['name']) == 0) ||
		(empty($_POST['email']) && strlen($_POST['email']) == 0) ||
		(empty($_POST['message']) && strlen($_POST['message']) == 0)
	) {
		return false;
	}
	/* --------------------------------------------------
	   Read form fields
	   -------------------------------------------------- */
	$name    = $_POST['name'];
	$email   = $_POST['email'];
	$message = $_POST['message'];
	/* --------------------------------------------------
	   FIELD LABEL TRANSLATION (manual post-export hack)
	   These labels control how the email is displayed.
	   -------------------------------------------------- */
	$labels = [
		'name'    => 'お名前',
		'email'   => 'メールアドレス',
		'message' => 'ご希望コース'
	];
	/* --------------------------------------------------
	   SMTP Server Credentials
	   -------------------------------------------------- */
	$smtp_host     = 'cp2.superior-host.com';
	$smtp_username = 'xxx@kiramek.com';
	$smtp_password = 'xxx';
	$smtp_port     = '587';
	/* --------------------------------------------------
	   Email headers
	   -------------------------------------------------- */
	$to       = 'xxx@kiramek.com';
	$replyTo = $email;
	$email_subject = '取り付けキャンペーンのコース申し込み';
	$email_body = "お客様Webフォームからのお申し込み内容 <br><br>Name: $name <br>Email: $email <br>Message: $message <br>";
	/* --------------------------------------------------
	   BUILD EMAIL BODY USING JAPANESE LABEL MAP
 	  -------------------------------------------------- */
	$email_body  = "お客様Webフォームからのお申し込み内容<br><br>";
	$email_body .= $labels['name']    . ": " . htmlspecialchars($name,    ENT_QUOTES, 'UTF-8') . "<br>";
	$email_body .= $labels['email']   . ": " . htmlspecialchars($email,   ENT_QUOTES, 'UTF-8') . "<br>";
	$email_body .= $labels['message'] . ": " . htmlspecialchars($message, ENT_QUOTES, 'UTF-8') . "<br>";
	/* --------------------------------------------------
	   Send mail via PHPMailer
	   -------------------------------------------------- */
	$mail = new PHPMailer(true);
	try {
		$mail->isSMTP();
		$mail->CharSet   = 'UTF-8';
		$mail->Host      = $smtp_host;
		$mail->SMTPAuth  = true;
		$mail->Username  = $smtp_username;
		$mail->Password  = $smtp_password;
		$mail->SMTPSecure = PHPMailer::ENCRYPTION_STARTTLS;
		$mail->Port      = $smtp_port;
		$mail->setFrom($smtp_username, '.');
		$mail->addAddress($to);
		$mail->addReplyTo($replyTo);
		$mail->isHTML(true);
		$mail->Subject = $email_subject;
		$mail->Body    = $email_body;
		$mail->send();
		exit;
	}
	catch (Exception $e) {
		$error = array(
			"message" => 'Message could not be sent. Mailer Error: ' . $mail->ErrorInfo
		);
		header('Content-Type: application/json');
		http_response_code(500);
		echo json_encode($error);
	}
?>

Hi, can’t help with the centering of text, I’m afraid, and not around Blocs until next week, although it looks like you have found out which bit of text to change.

If you stumble across the centering solution, I’d be interested to know.

** Just thinking out loud: do the options come under the category af a Label (or another inbuilt class), so maybe creating a label class for centred may do the trick?

Cheers

When I create a Class named centred or one named centered, and then apply that to “Select” in the left sidebar (the popup menu), nothing happens. And I am doing precisely what you said to do, creating the CLASS NAME ONLY in the right sidebar, not changing any settings inside that Class. Those two class names do not impact the content of the popup menu at all.

For others reading this thread, I should repeat that my aim here is to CENTER TEXT inside the popup menu known as “Option Select” when adding a new Bric to the page, because I use the popup in a form where the placeholder text inside all the form fields is centered, and so the left-aligned text in the popup looks odd.

I’m open to further ideas, of course. Thank you.

it seems to be the class “.form-select” which targets this, however, the centre align doesn’t work as I’d expect it to.

A manual work-around is to play with the left hand side padding and force the caption/text box across the field, but of course it woud have to be adjusted for each breakpoint.

Those more ‘in the know’ than me will probably have an easier way to do it, but this is what I came up with.

It would be nice to make this easier! Best of luck.

1 Like

I appreciate your reply.

Honestly, I’ve given up because I don’t know what else to do. Should anyone reply to this thread, I will receive an email notification of it, and perhaps at that future time we can get a final solution. Until then, my form fields will all be centered except the popup, which looks silly being left-aligned, but it can’t be helped.

@JDW James, as I understand it, the Select Input field is basically treated more like an “OS element”, not an HTML one, hence styling is limited. To make things more fun, different browsers treat this differently also.

Here is an example, using the .text-center Bootstrap class you used earlier, does work in some browsers, not all. Here it is in Edge, but the dropdown is left.

There are other libraries etc that will handle this how you like, but you will have to research for them and implement it.

1 Like

Understood. Thank you very much for your time, Pete!

1 Like

@JDW you could use a dropdown (easy to style) as a “fake” field, then using javascript populate a hidden input field with the option. That would be an easy work around.

1 Like

Hmmm. I may just try that suggestion, Pete. Thank you.

I’ve actually be vibe coding with Gemini since your earlier post, and after a couple iterations, I found the code to work perfectly, with the lone caveat of it being a tad bit slow. When you click the regular popup, it drops down nearly instantly. But with the CSS and JS that Gemini crafted (see below), it takes about a half second to drop down and to close. I refined the code via Gemini to change from onclick to onpointerdown, and that made it a tad faster, but it’s still noticeably slower to open/close than the standard popup menu. Anyway, below is the exact code Gemini created, with my tweaks added:

CSS for Page Header

<style>
.custom-centered-select { display: none !important; }
.select-wrapper { 
    position: relative; 
    width: 100%; 
    font-family: inherit; 
    user-select: none; /* Prevents text highlighting on fast clicks */
}

.select-trigger {
    width: 100%; padding: 10px; background: #fff; border: 1px solid #ccc;
    text-align: center; cursor: pointer; border-radius: 4px;
    font-weight: 400; 
    font-size: 0.95rem; /* Your adjusted size */
    color: #6c757d;
    transition: none !important; /* Forces instant appearance */
}

.select-options {
    position: absolute; width: 100%; background: #fff; border: 1px solid #ccc;
    z-index: 9999; display: none; margin-top: 2px; border-radius: 4px;
    box-shadow: 0 4px 6px rgba(0,0,0,0.1);
    will-change: display; /* Optimizes rendering speed */
}

.select-option { 
    padding: 10px; text-align: center; cursor: pointer;
    font-weight: 400; 
    font-size: 0.95rem;
    color: #333;
}
.select-option:hover { background-color: #f8f9fa; }
.show { display: block !important; }
</style>

JavaScript for Page Footer

<script>
document.addEventListener("DOMContentLoaded", function() {
    const realSelect = document.querySelector('.custom-centered-select');
    if(!realSelect) return;

    const wrapper = document.createElement('div');
    wrapper.className = 'select-wrapper';
    const trigger = document.createElement('div');
    trigger.className = 'select-trigger';
    trigger.innerHTML = realSelect.options[0].text;
    
    const optionsContainer = document.createElement('div');
    optionsContainer.className = 'select-options';

    Array.from(realSelect.options).slice(1).forEach((opt, index) => {
        const div = document.createElement('div');
        div.className = 'select-option';
        div.innerHTML = opt.text;
        // Use pointerdown here for instant selection
        div.onpointerdown = (e) => {
            e.preventDefault();
            e.stopPropagation();
            realSelect.selectedIndex = index + 1;
            trigger.innerHTML = opt.text;
            trigger.style.color = "#333";
            optionsContainer.classList.remove('show');
        };
        optionsContainer.appendChild(div);
    });

    // Use pointerdown for the fastest "snap" open
    trigger.onpointerdown = (e) => {
        e.preventDefault();
        e.stopPropagation();
        const isOpen = optionsContainer.classList.contains('show');
        // Close any other instances if you had more than one
        optionsContainer.classList.toggle('show');
    };

    // Global listener for closing
    window.addEventListener('pointerdown', function(e) {
        if (!wrapper.contains(e.target)) {
            optionsContainer.classList.remove('show');
        }
    });

    wrapper.appendChild(trigger);
    wrapper.appendChild(optionsContainer);
    realSelect.parentNode.insertBefore(wrapper, realSelect);
});
</script>

After my last post, I spent many days with AI trying to “Vibe-code” my way into a solution.
It ended in failure.

I was able to direct AI to craft some very nice code and I must say it is a big upgrade over what Blocs Forms give us:

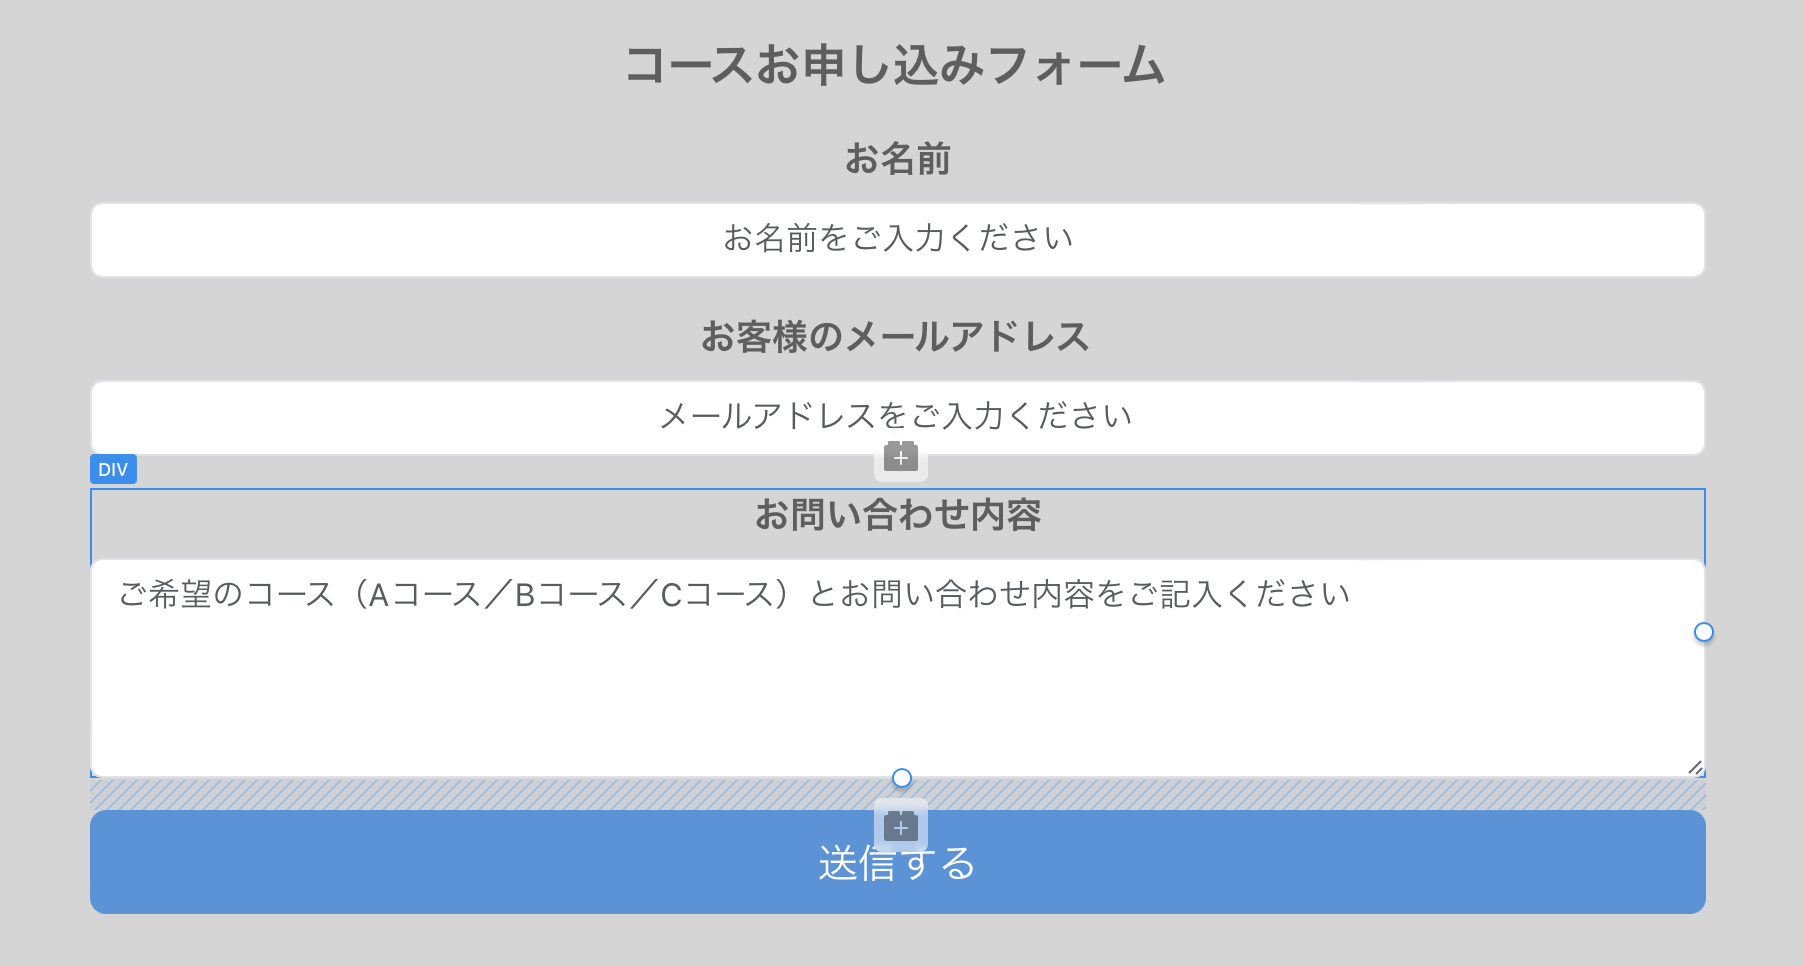
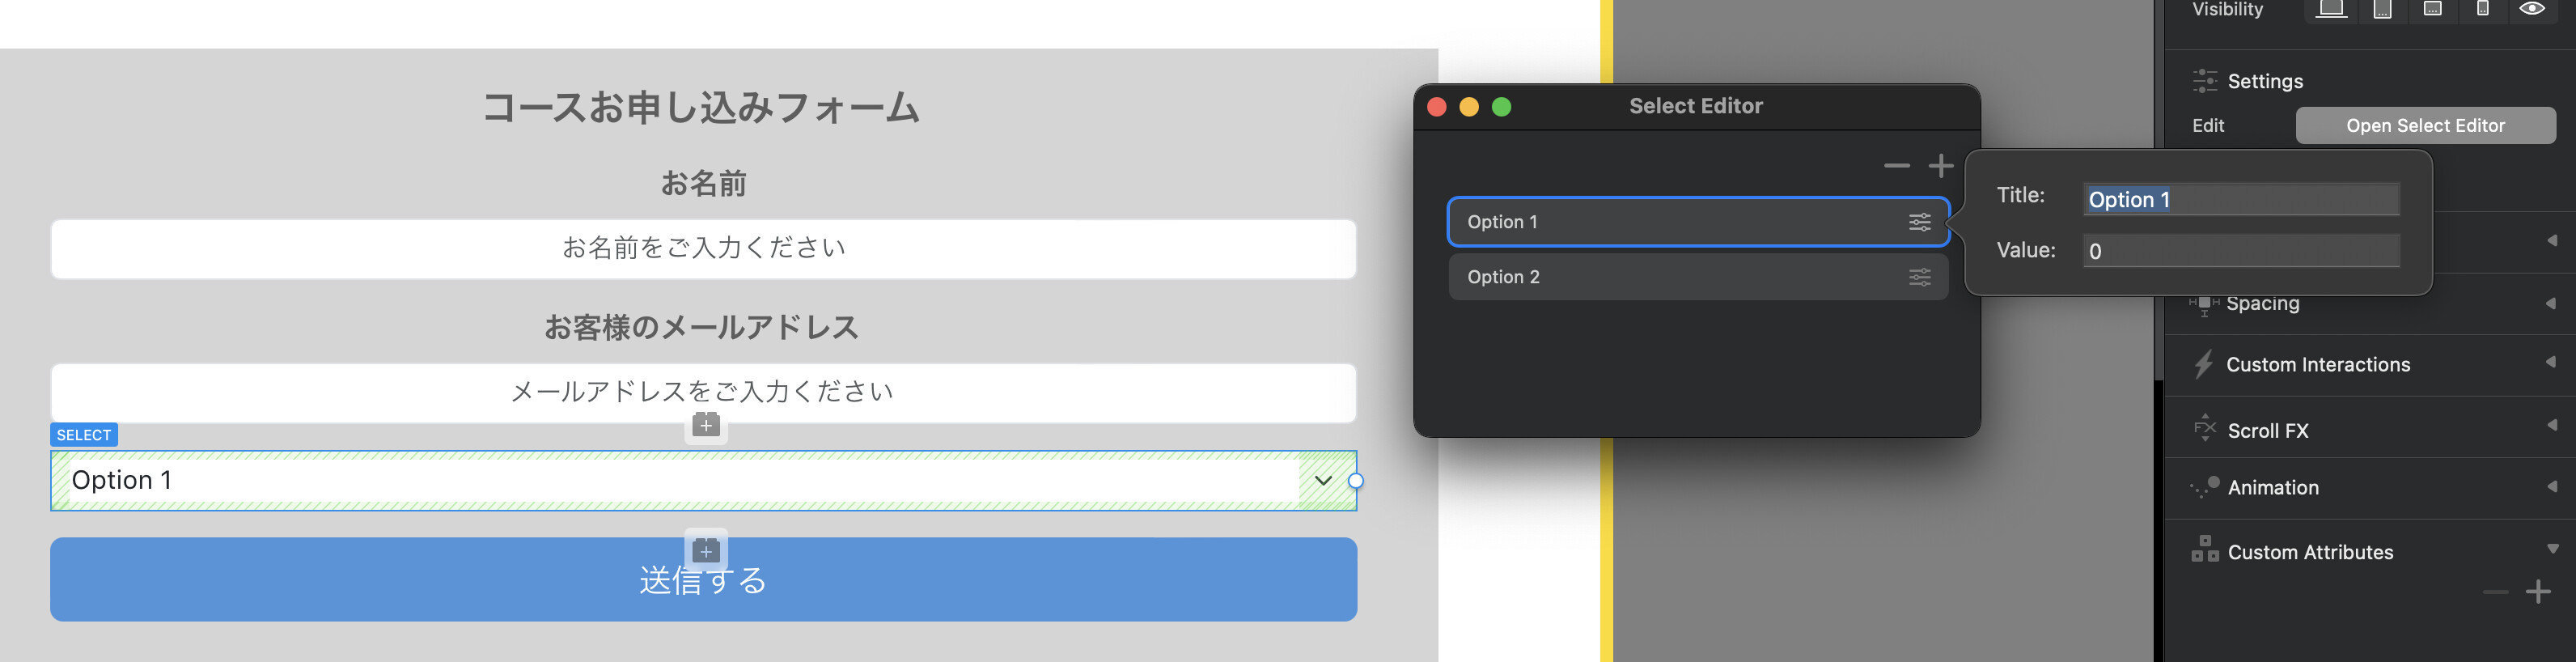
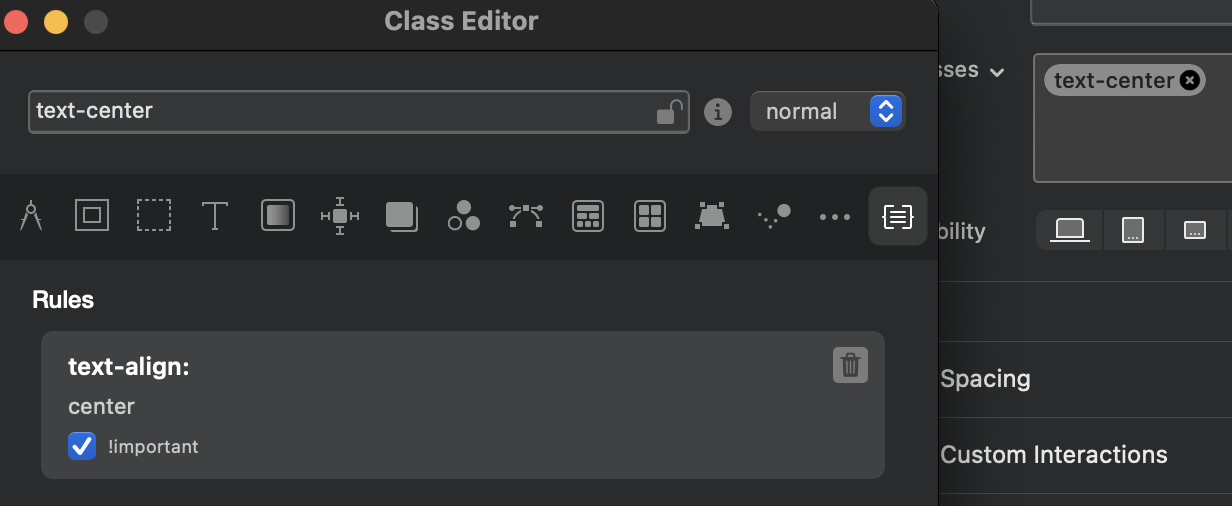
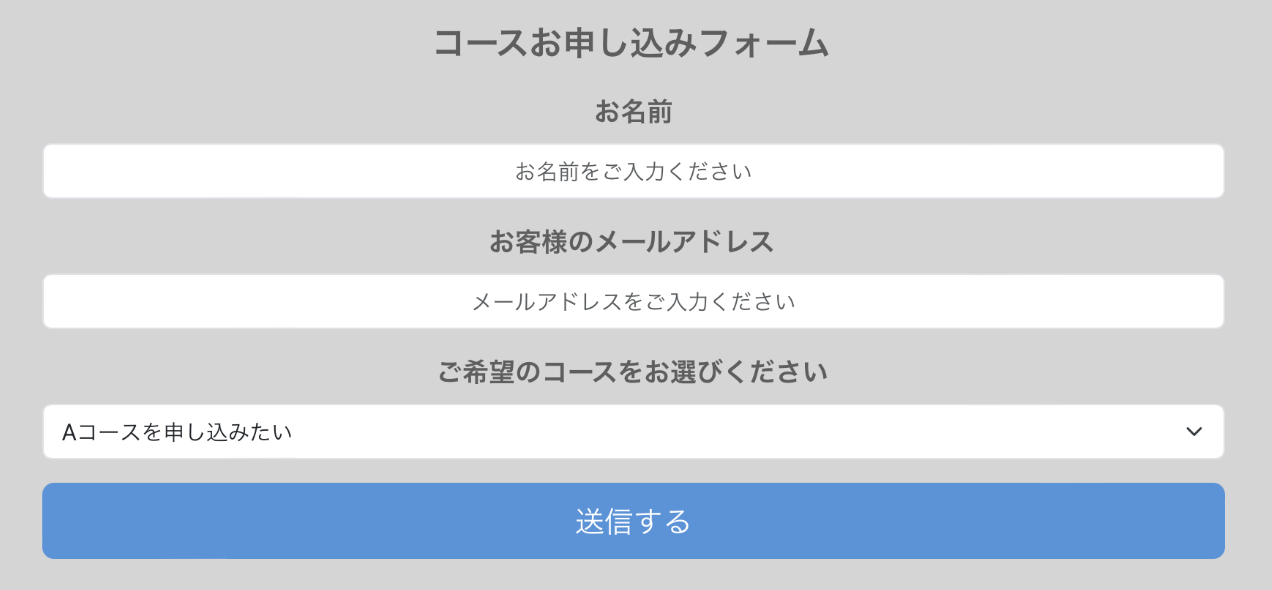
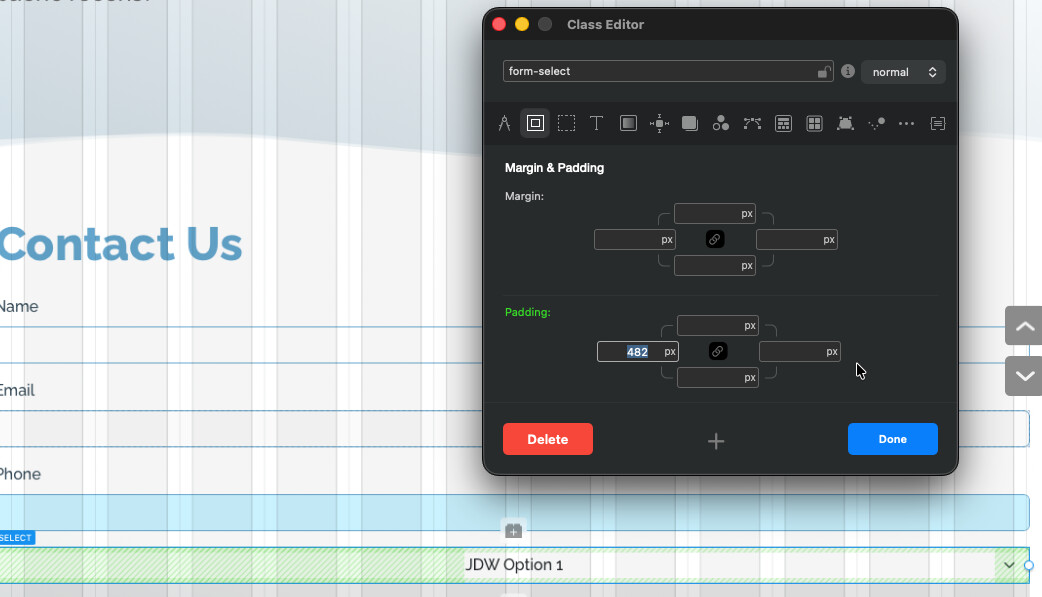
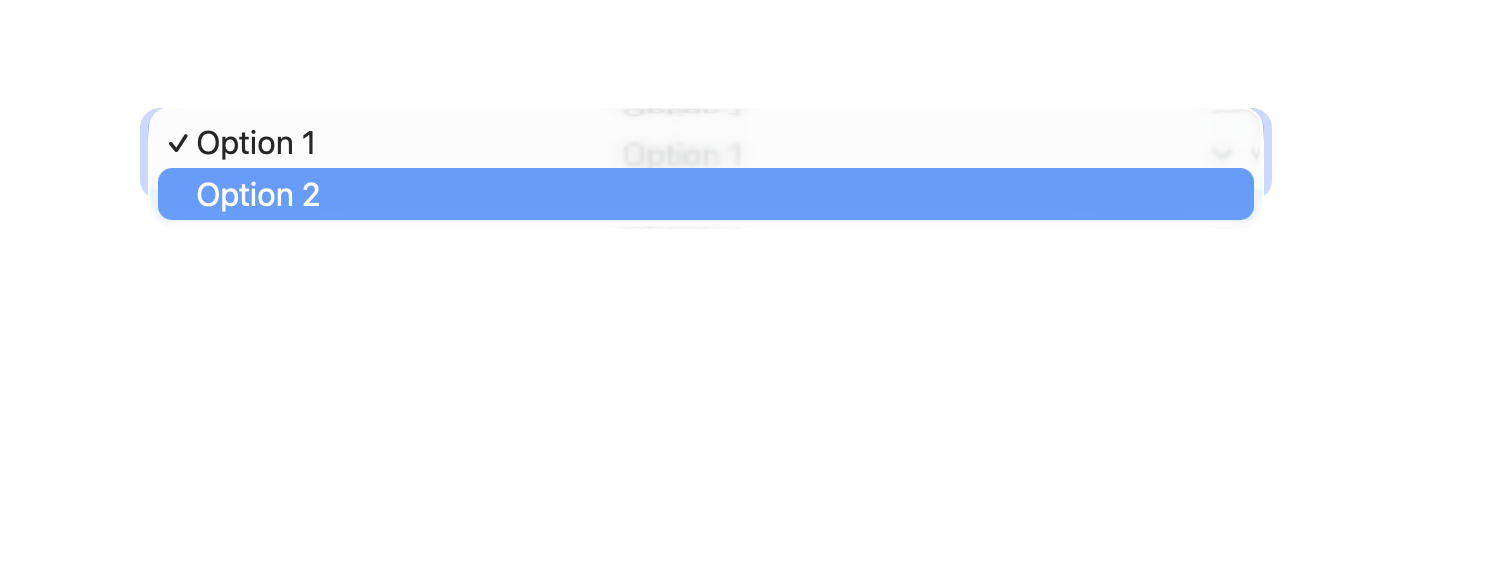
  1. Text inside popup menus was able to be horizontally centered to match the other text fields in the form, which is the way it ought to be. The code creates a “fake” popup to accomplish that centering.
  2. When there is a field input error, it will outline the invalid input field in red, also offering a semi-transparent red “focus” outline, AND it adds a little circular “!” warning icon at right, inside the field itself.
  3. When the field is properly filled out, a blue checkmark (color chosen by me) will appear at right, inside the field.
  4. Code was added to allow Tabs and Arrow keys to work in the popup menu, despite the fact it’s a “fake” form input popup.
  5. Nobody has numbers in their first or last name, so I was able to add code to turn the field red (invalid) when anyone types numbers into the “Name” field.

But alas, the code failed in the end.

All was well when I previewed inside Blocs and when I used the View menu to Preview in-browser (FireFox, Safari, Chrome, and Edge for macOS — caches cleared). But as soon as I Export files from Blocs and then preview those files, either locally or from my web server, the popup menu vanishes, my numerical detection code in the Name field no longer works, fields with invalid text are no longer outlined in red — a complete malfunction of the form!

After much discussion with ChatGPT and Gemini (in Pro mode), and yes, the two AI’s examined all my HTML files and code blocs extensively, it appears that the code generated is fighting with Blocs generated code in terms of timing. That timing issue prevents the AI generated code from working when files have been exported from Blocs, even though everything works fine in Blocs Preview or View Menu Preview.

It was a complete and utter failure, but I have to give the nod to Gemini in Pro mode. It was the only of the two AI’s that finally admitted to me that it was throwing in the towel, unable to solve the problem. ChatGPT (in Thinking mode), wasted days of my time and refused to admit defeat, insisting it was trying something new and possibly a fix, every time it generated code.

And so, my forms must be created exclusively with what Blocs gives me, mainly because there’s no way to override Blocs, or so it would seem, to get the “timing” right.

Perhaps if some of the aforementioned enhancements can make their way into Blocs’ built-in forms, no code hacking would be necessary, and we could then have niceties like centered popup menu text, “number detection” in Name fields, field coloring, checkmarks, etc.

1 Like