IMPOSSBILE !!!
See how noting is logical here
i tried from scratch, and result is not has it should be
I didn’t set up the button yet, it’s worth when i do
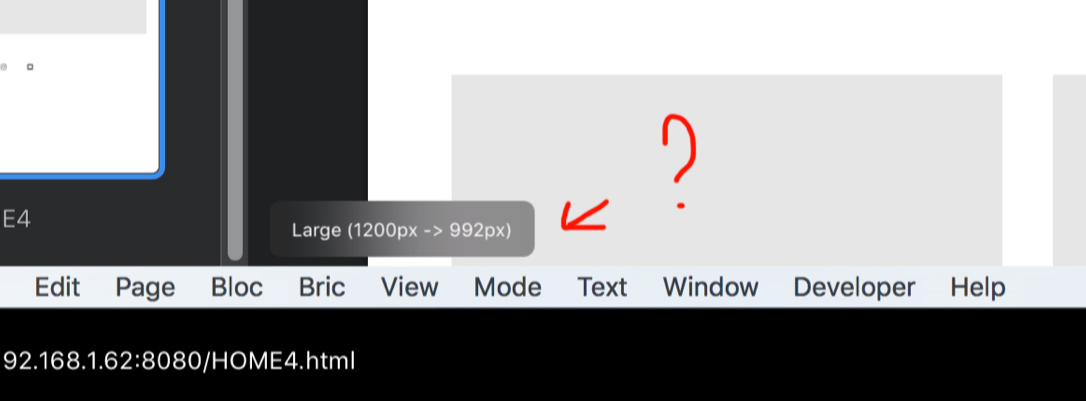
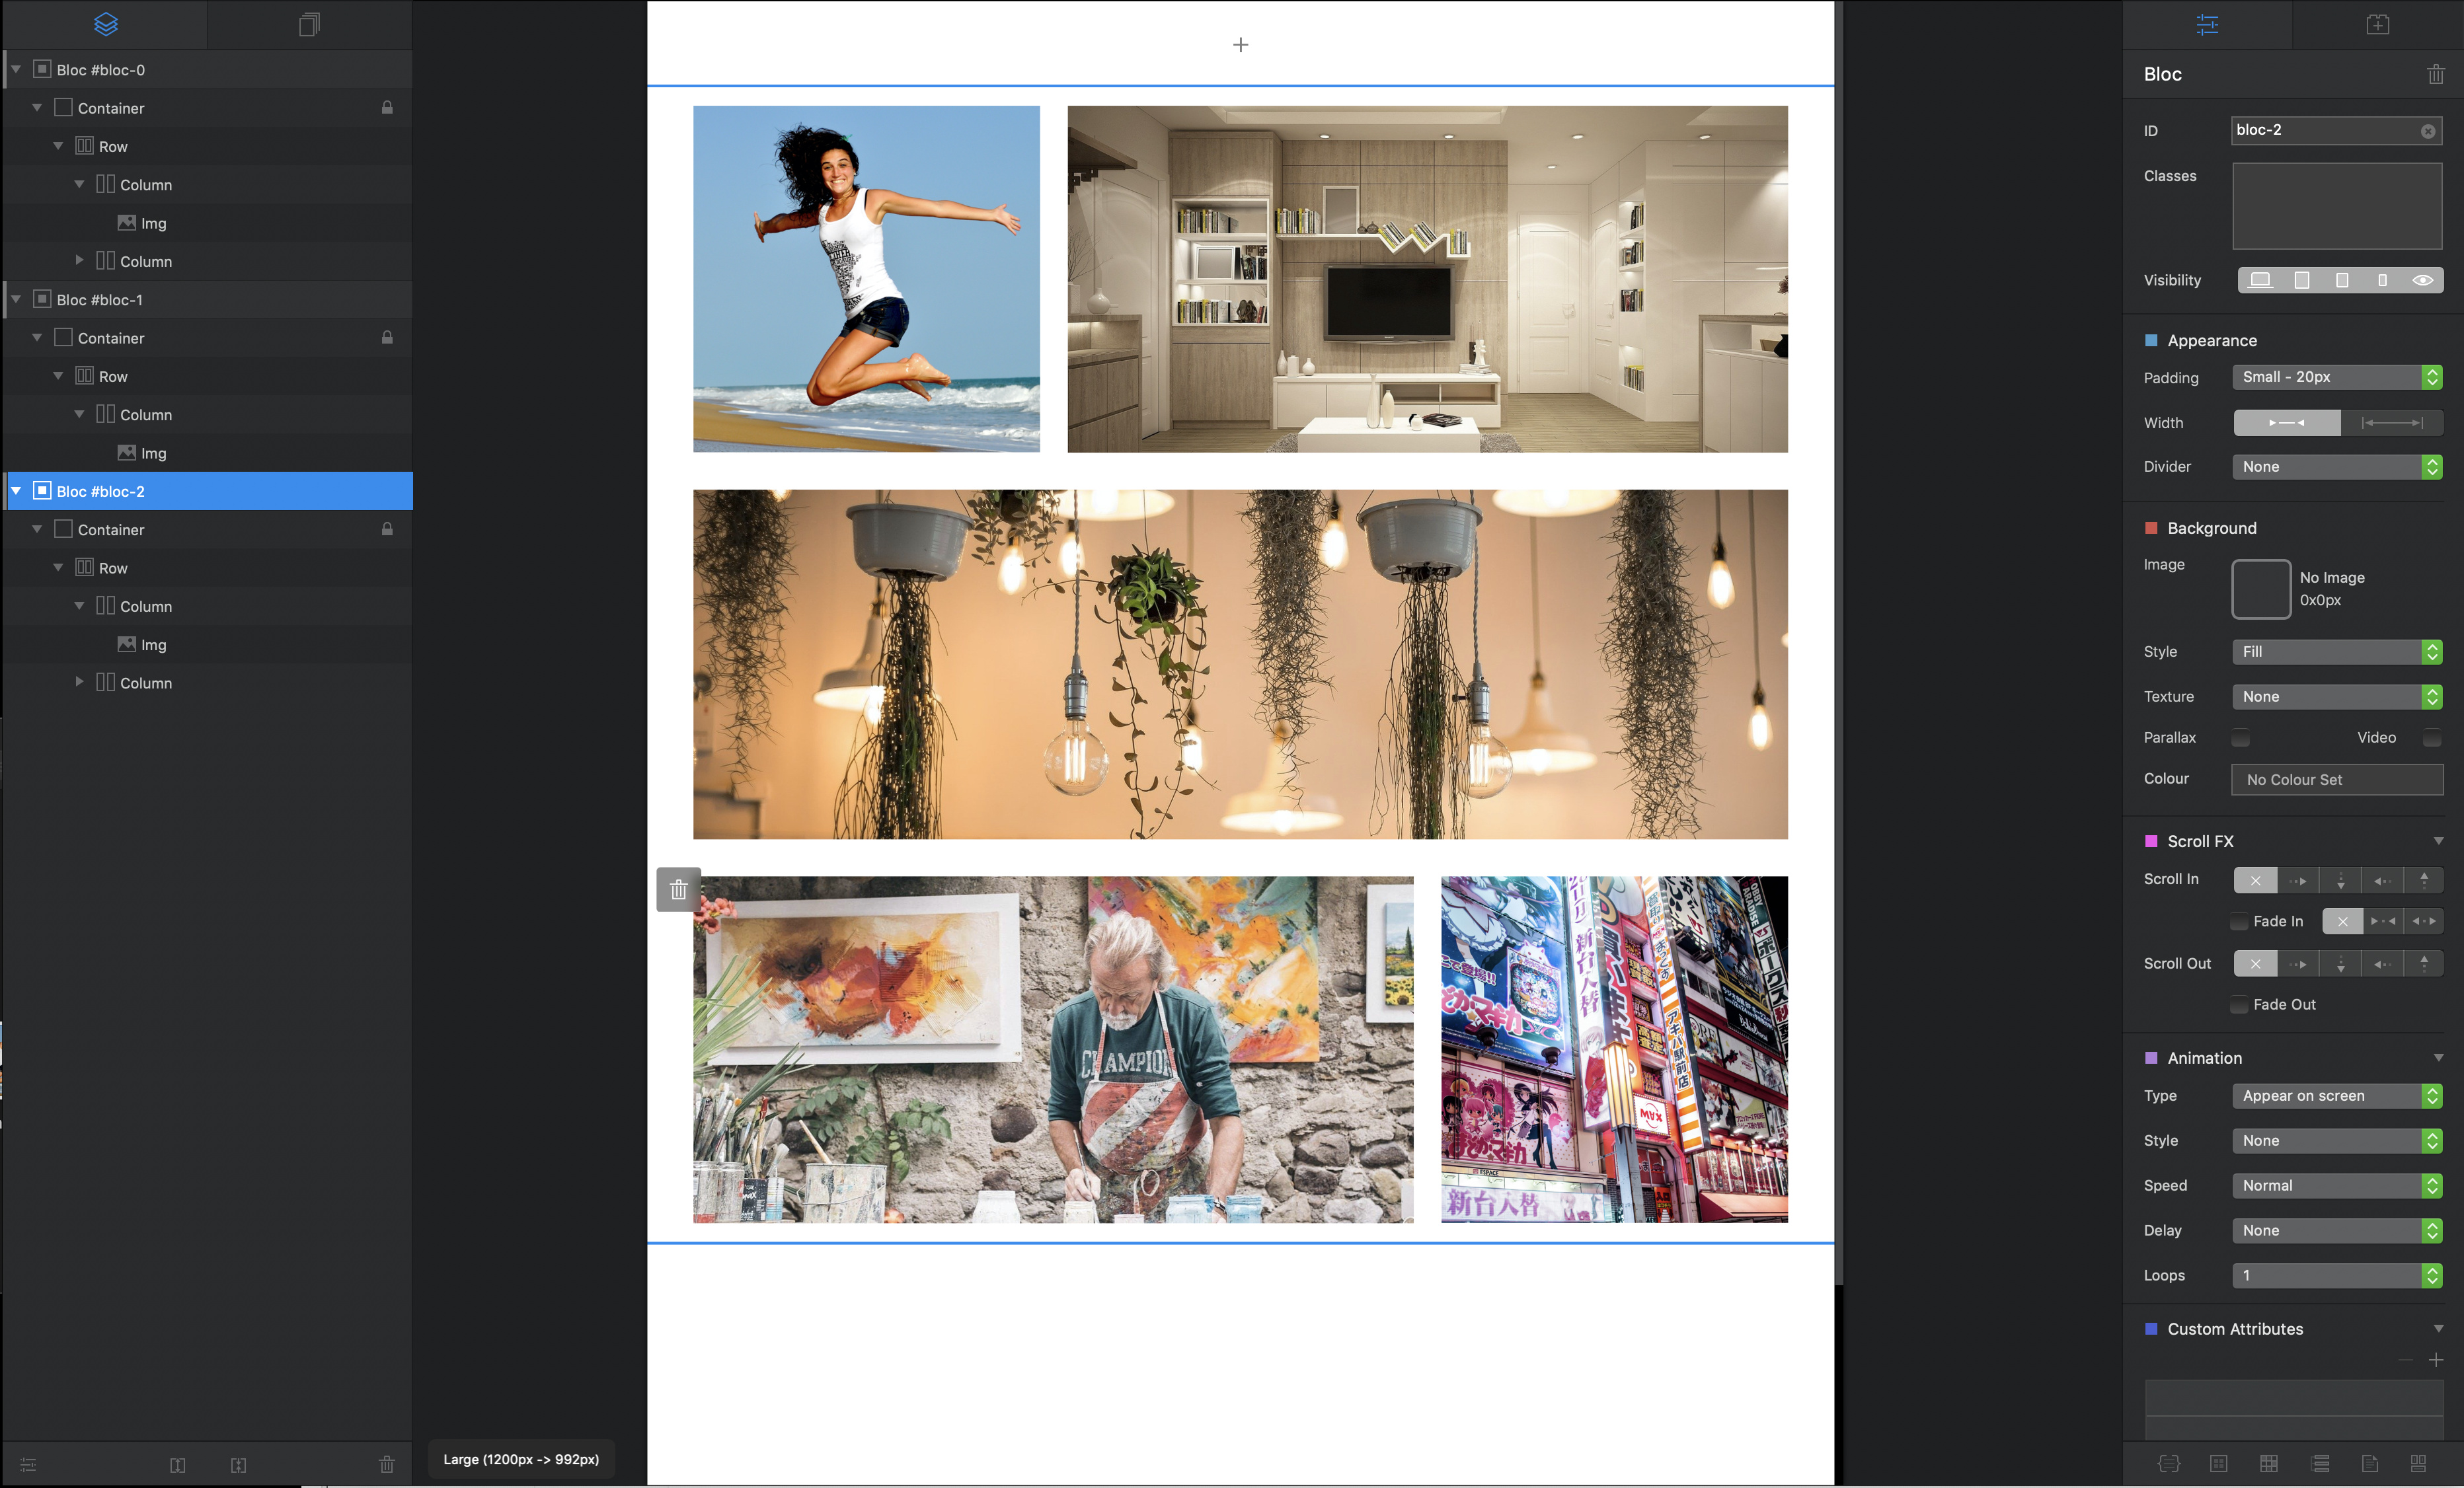
This is showing the breakpoint. You can switch between them using the 4 icons on the top of the window.
Blocs uses a framework called Bootstrap 4. This makes it possible to build responsive websites.
ok but what does this number mean here? do i need to use that ref somewhere?
It means that your website will display like that for screen/window sizes 992px and up.
but why in preview mode it doesn’t look like in editing? in editing all is aligned, and in preview it’s not…i don’t understand
Can you post your project file.
http://ilovesweden.net/home.zip
There are different test pages
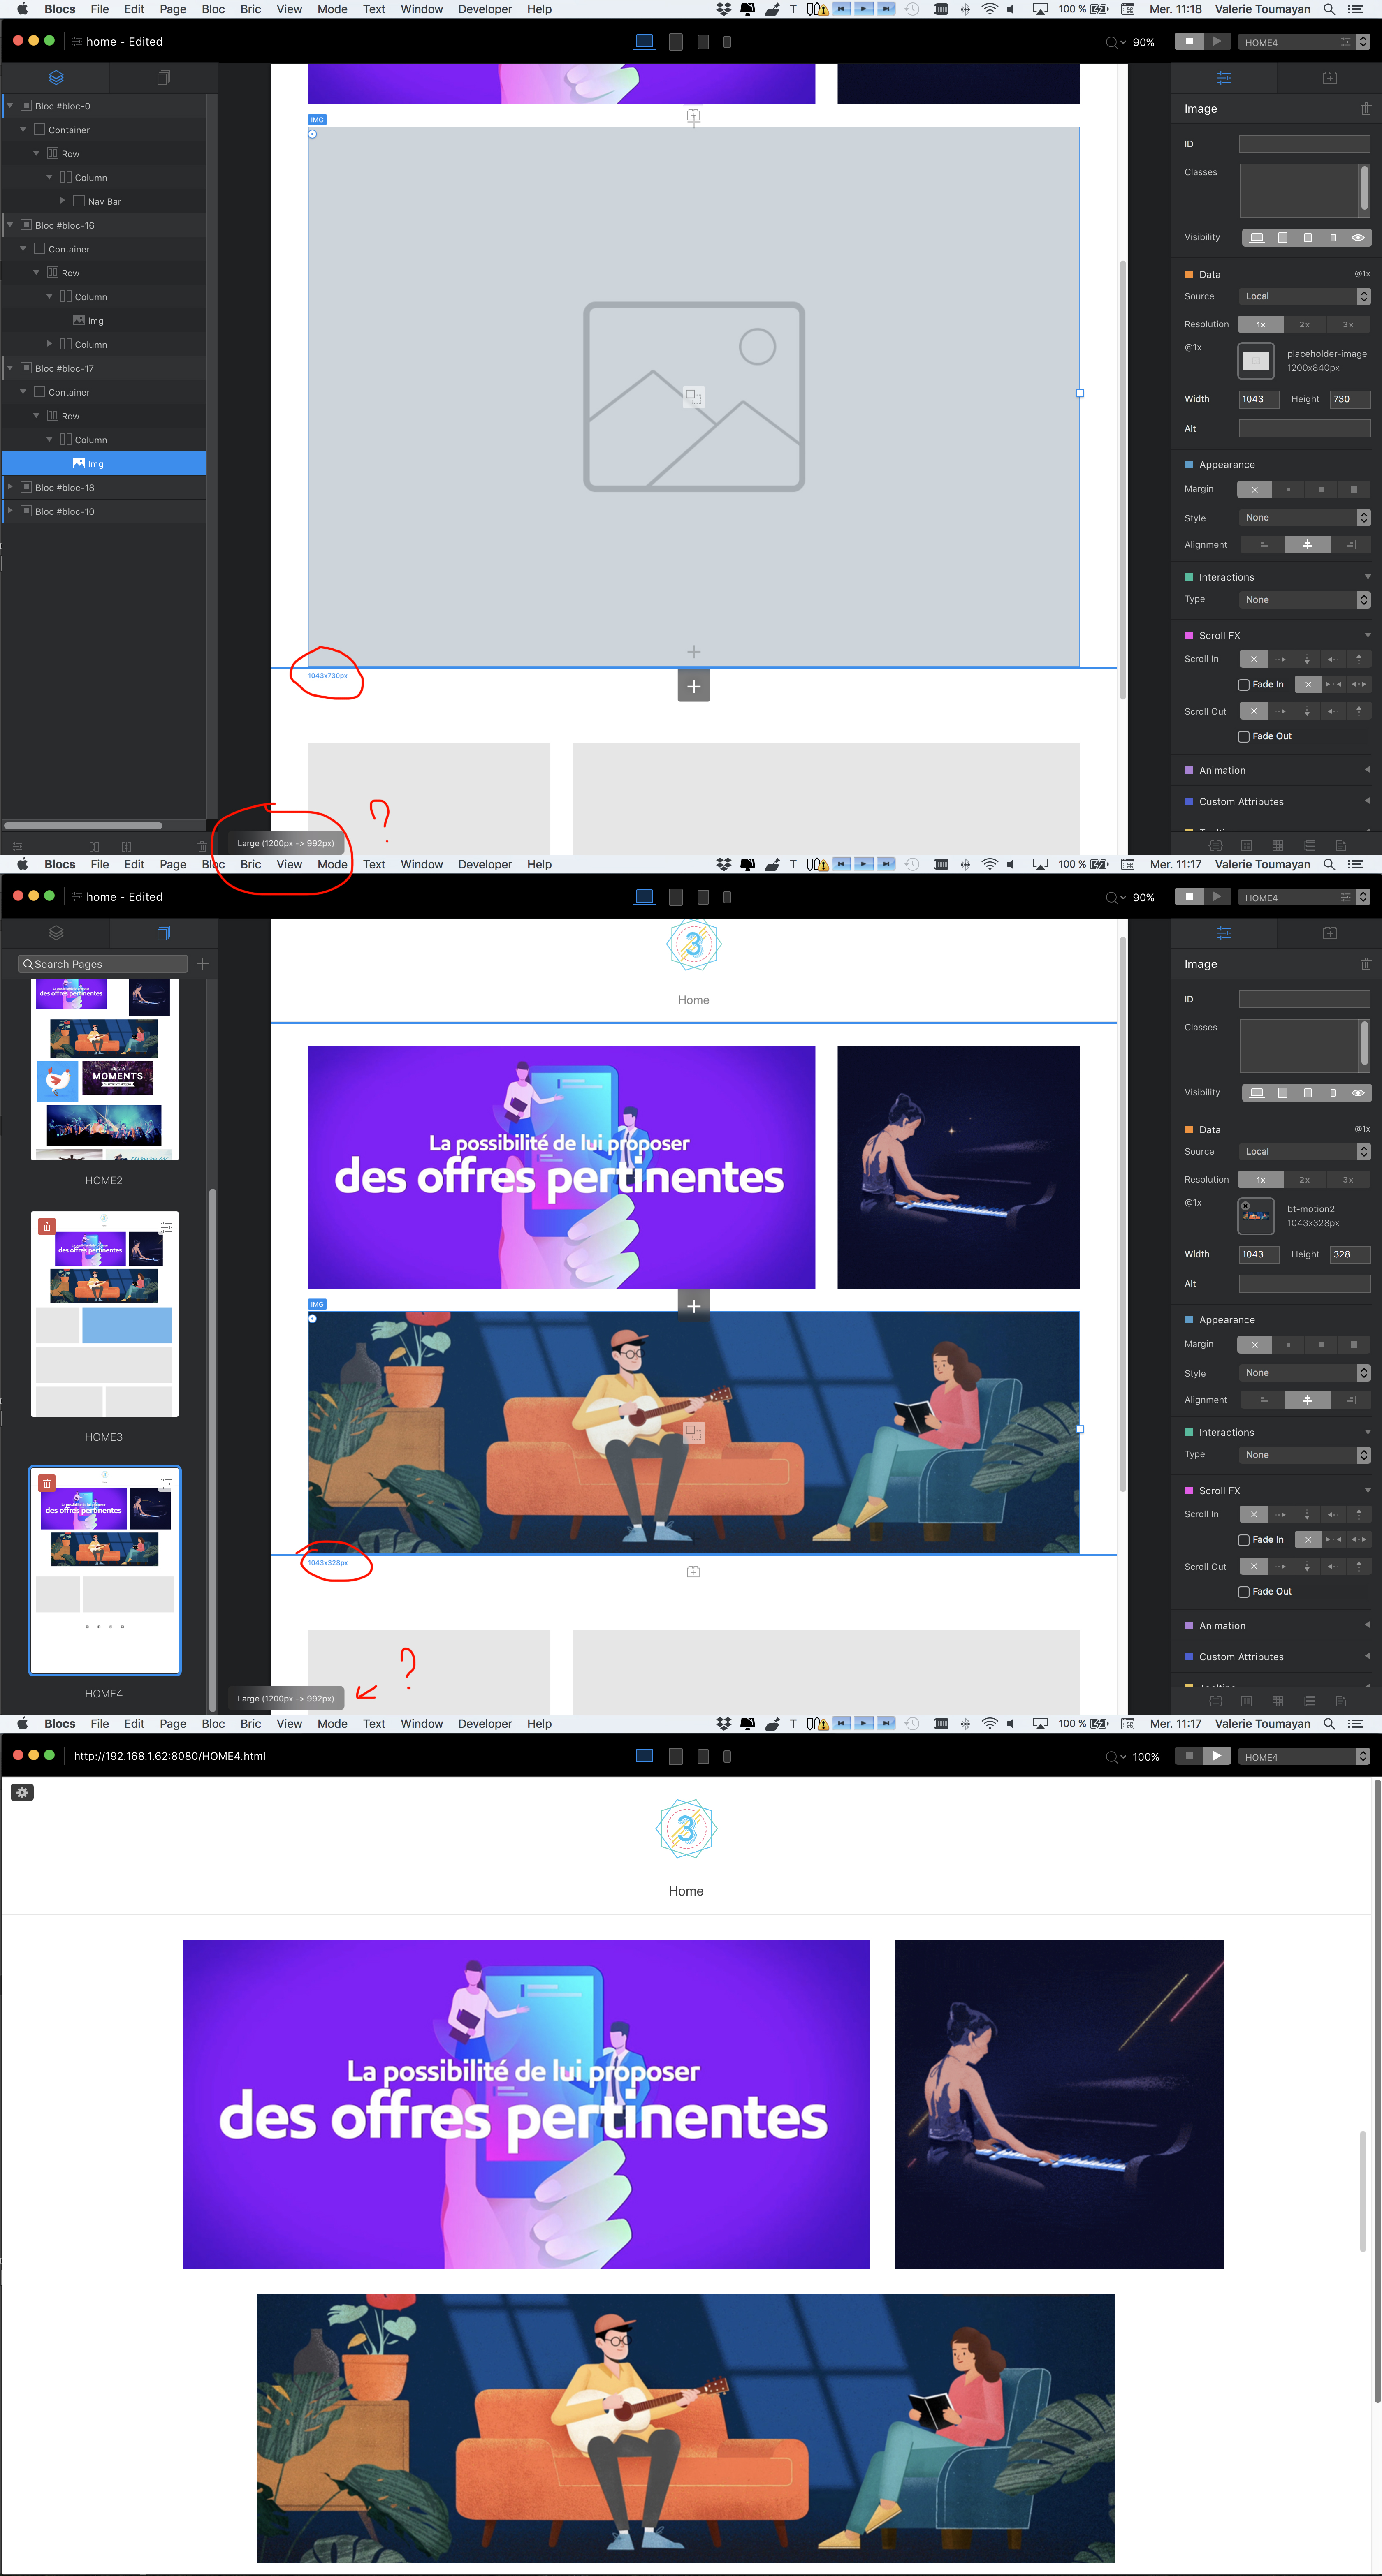
Home 3 has the button effect that I’m trying to add, it’s almost good, lines are delayed…again, not it’s editing mode…
Home 4 is jut the first setup, the first line is perfect in preview, it’s bigger than Home3, I think it’ because I didn’t add the button effect…but the second line is smaller…
Nothing that I do or try works
I can’t open that project file, it just crashes Blocs when I do.
ok crap, it crash too, and now i don’t have my latest version of the project…let me redo all again
it’s good now, same link
but i’m completly lost in what size i shoud have for each images…
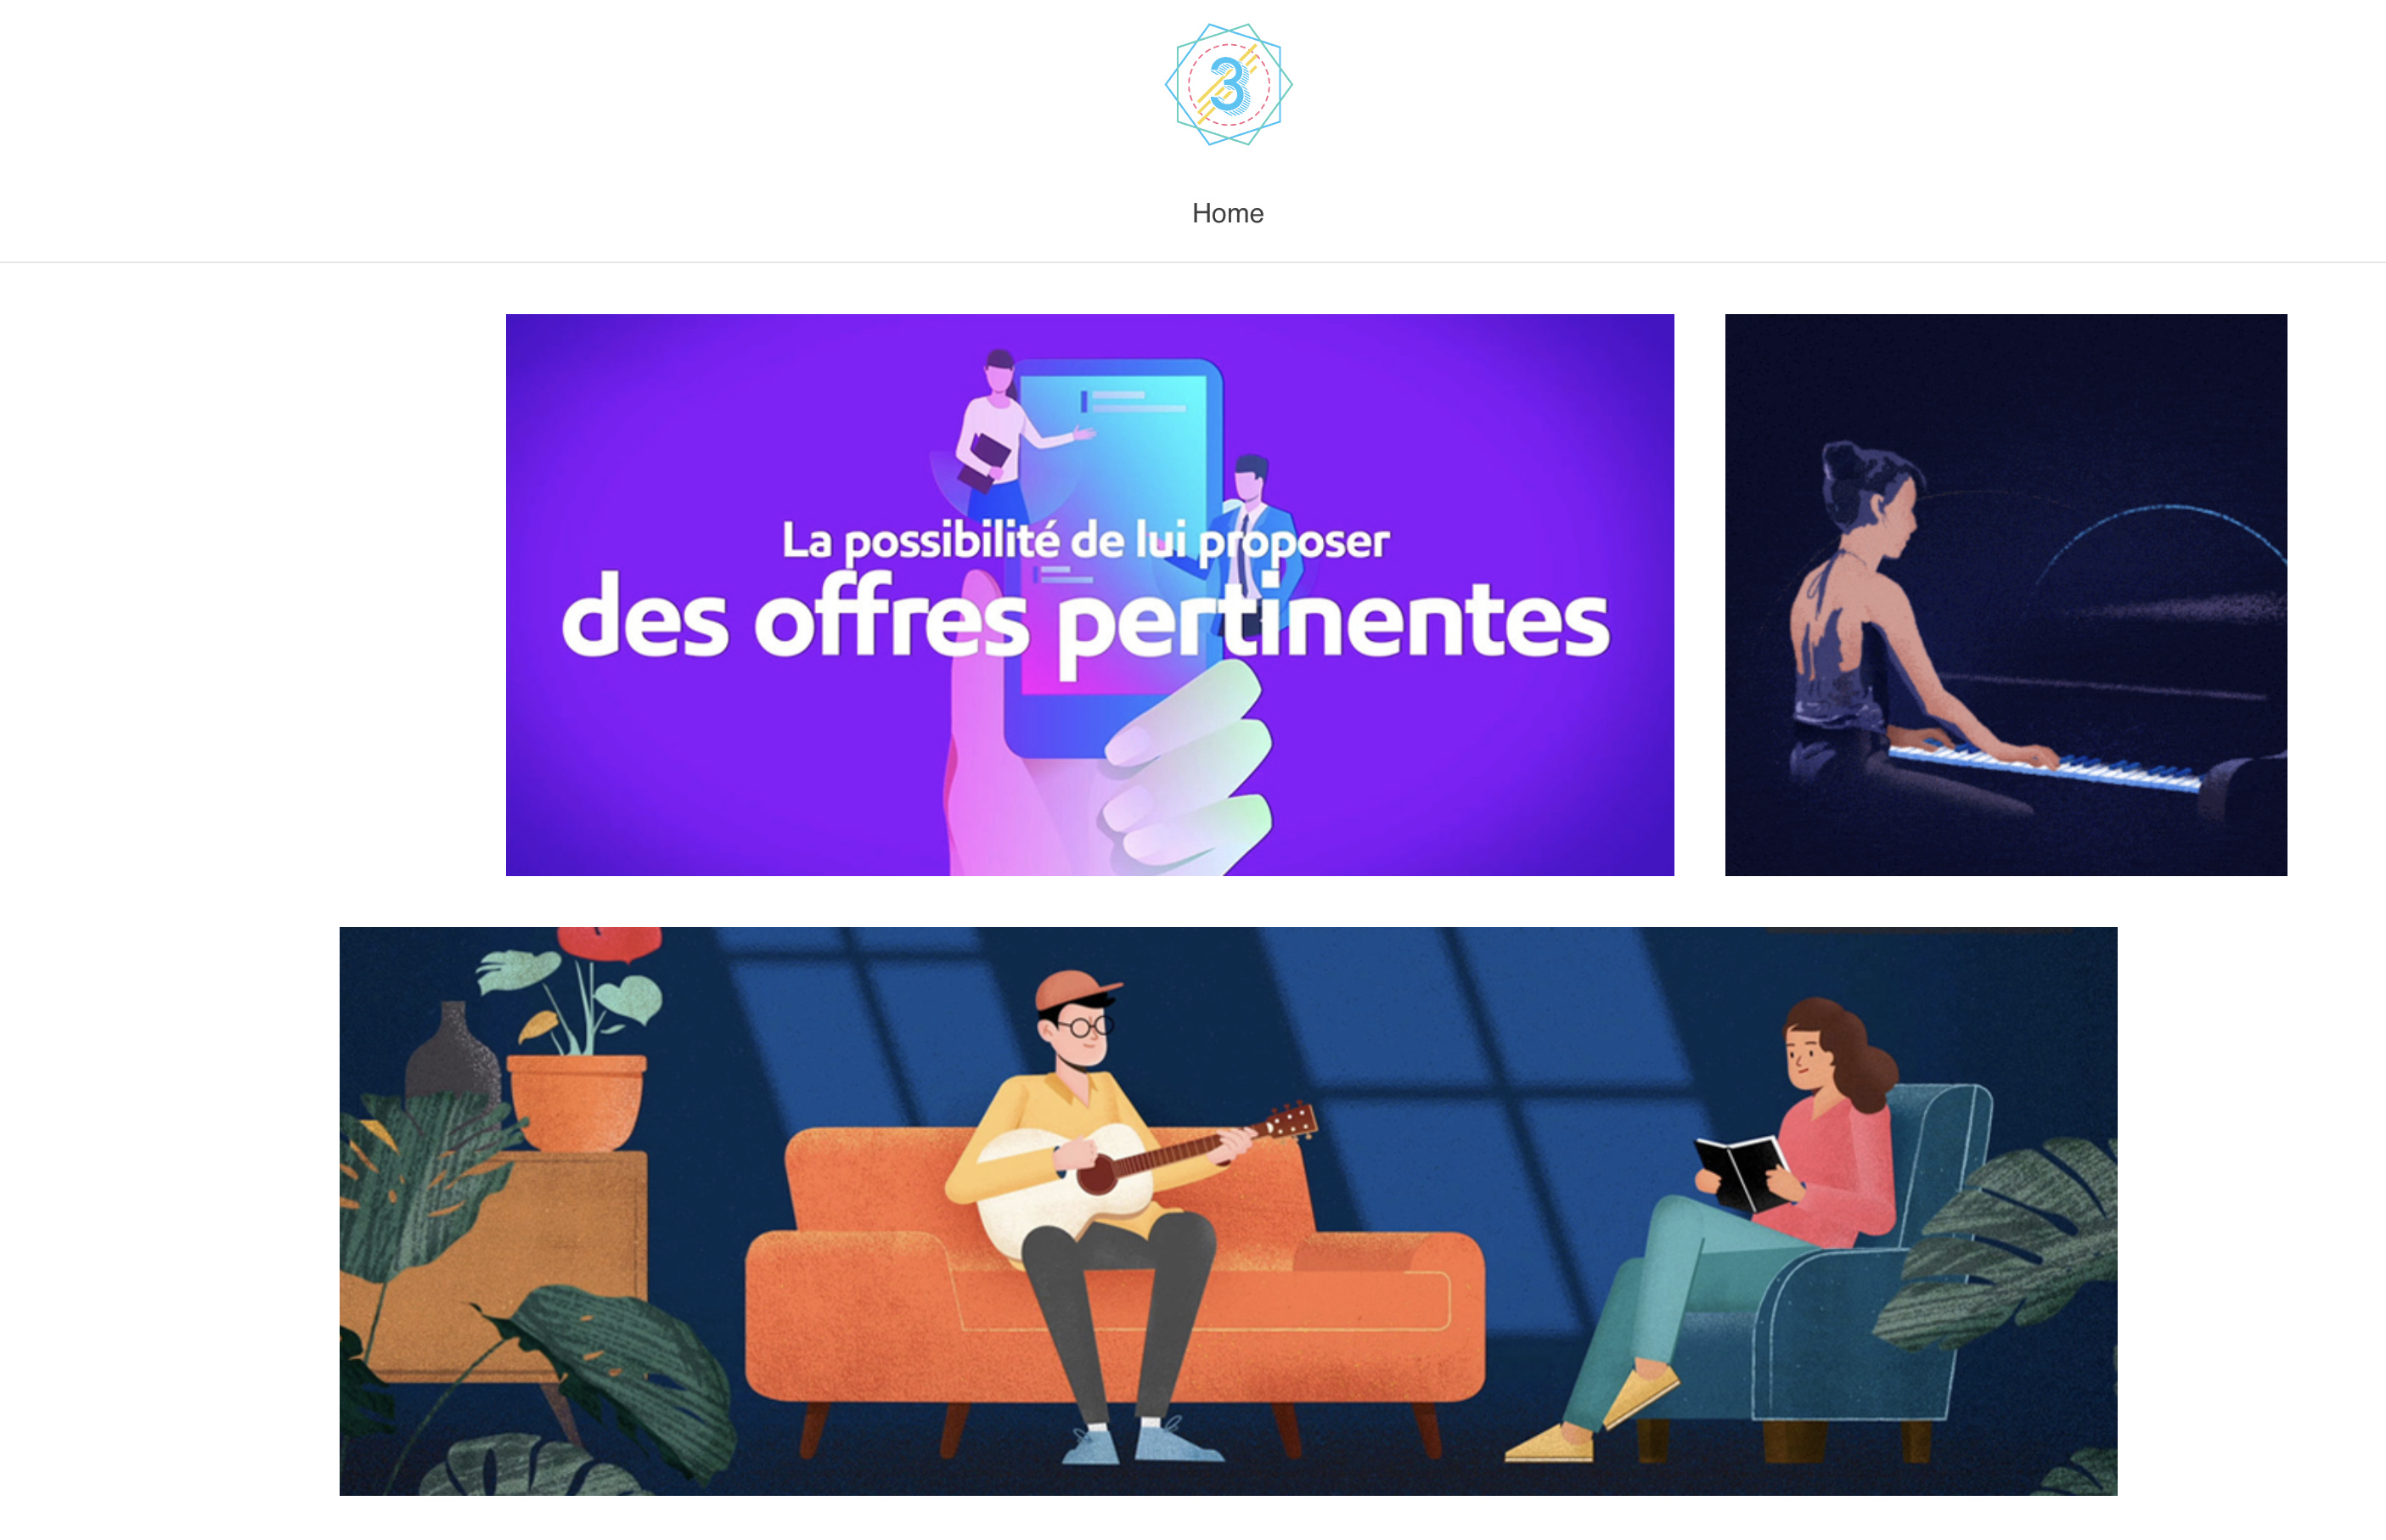
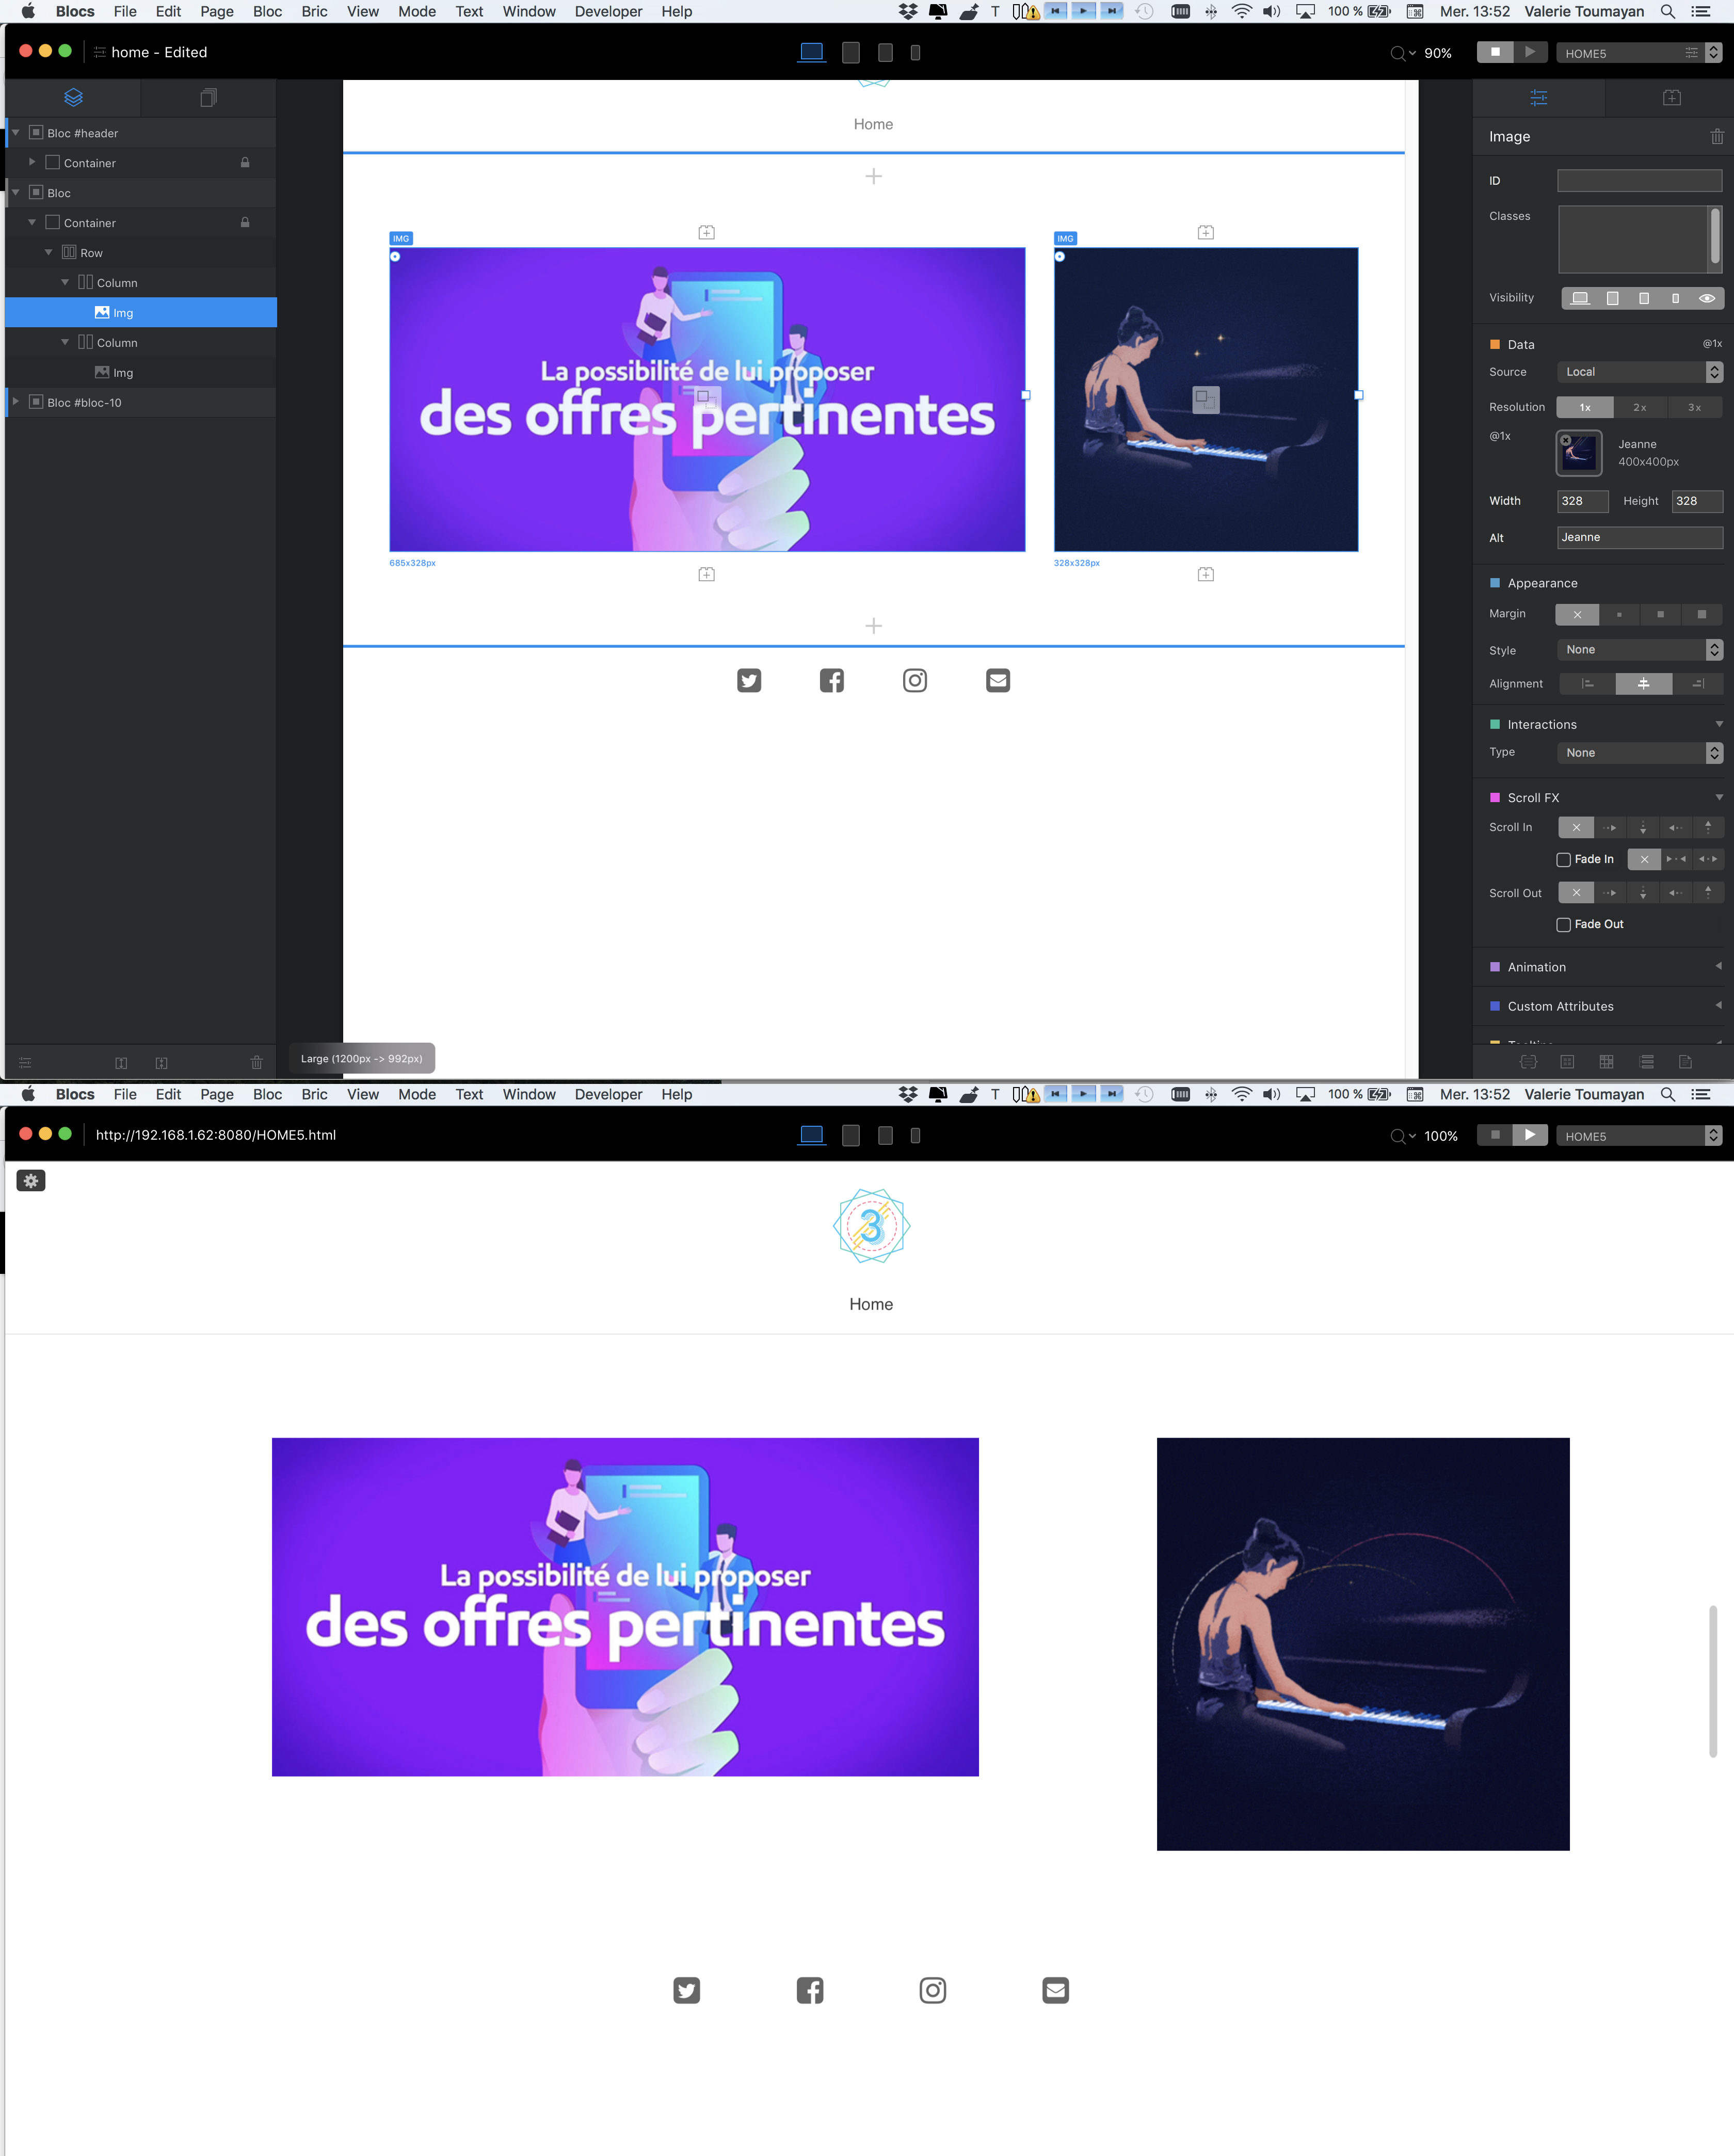
I’ve just recreated a page similar to the one you are making. This is what it looks like in design mode:
And this is what it looks like in a browser:
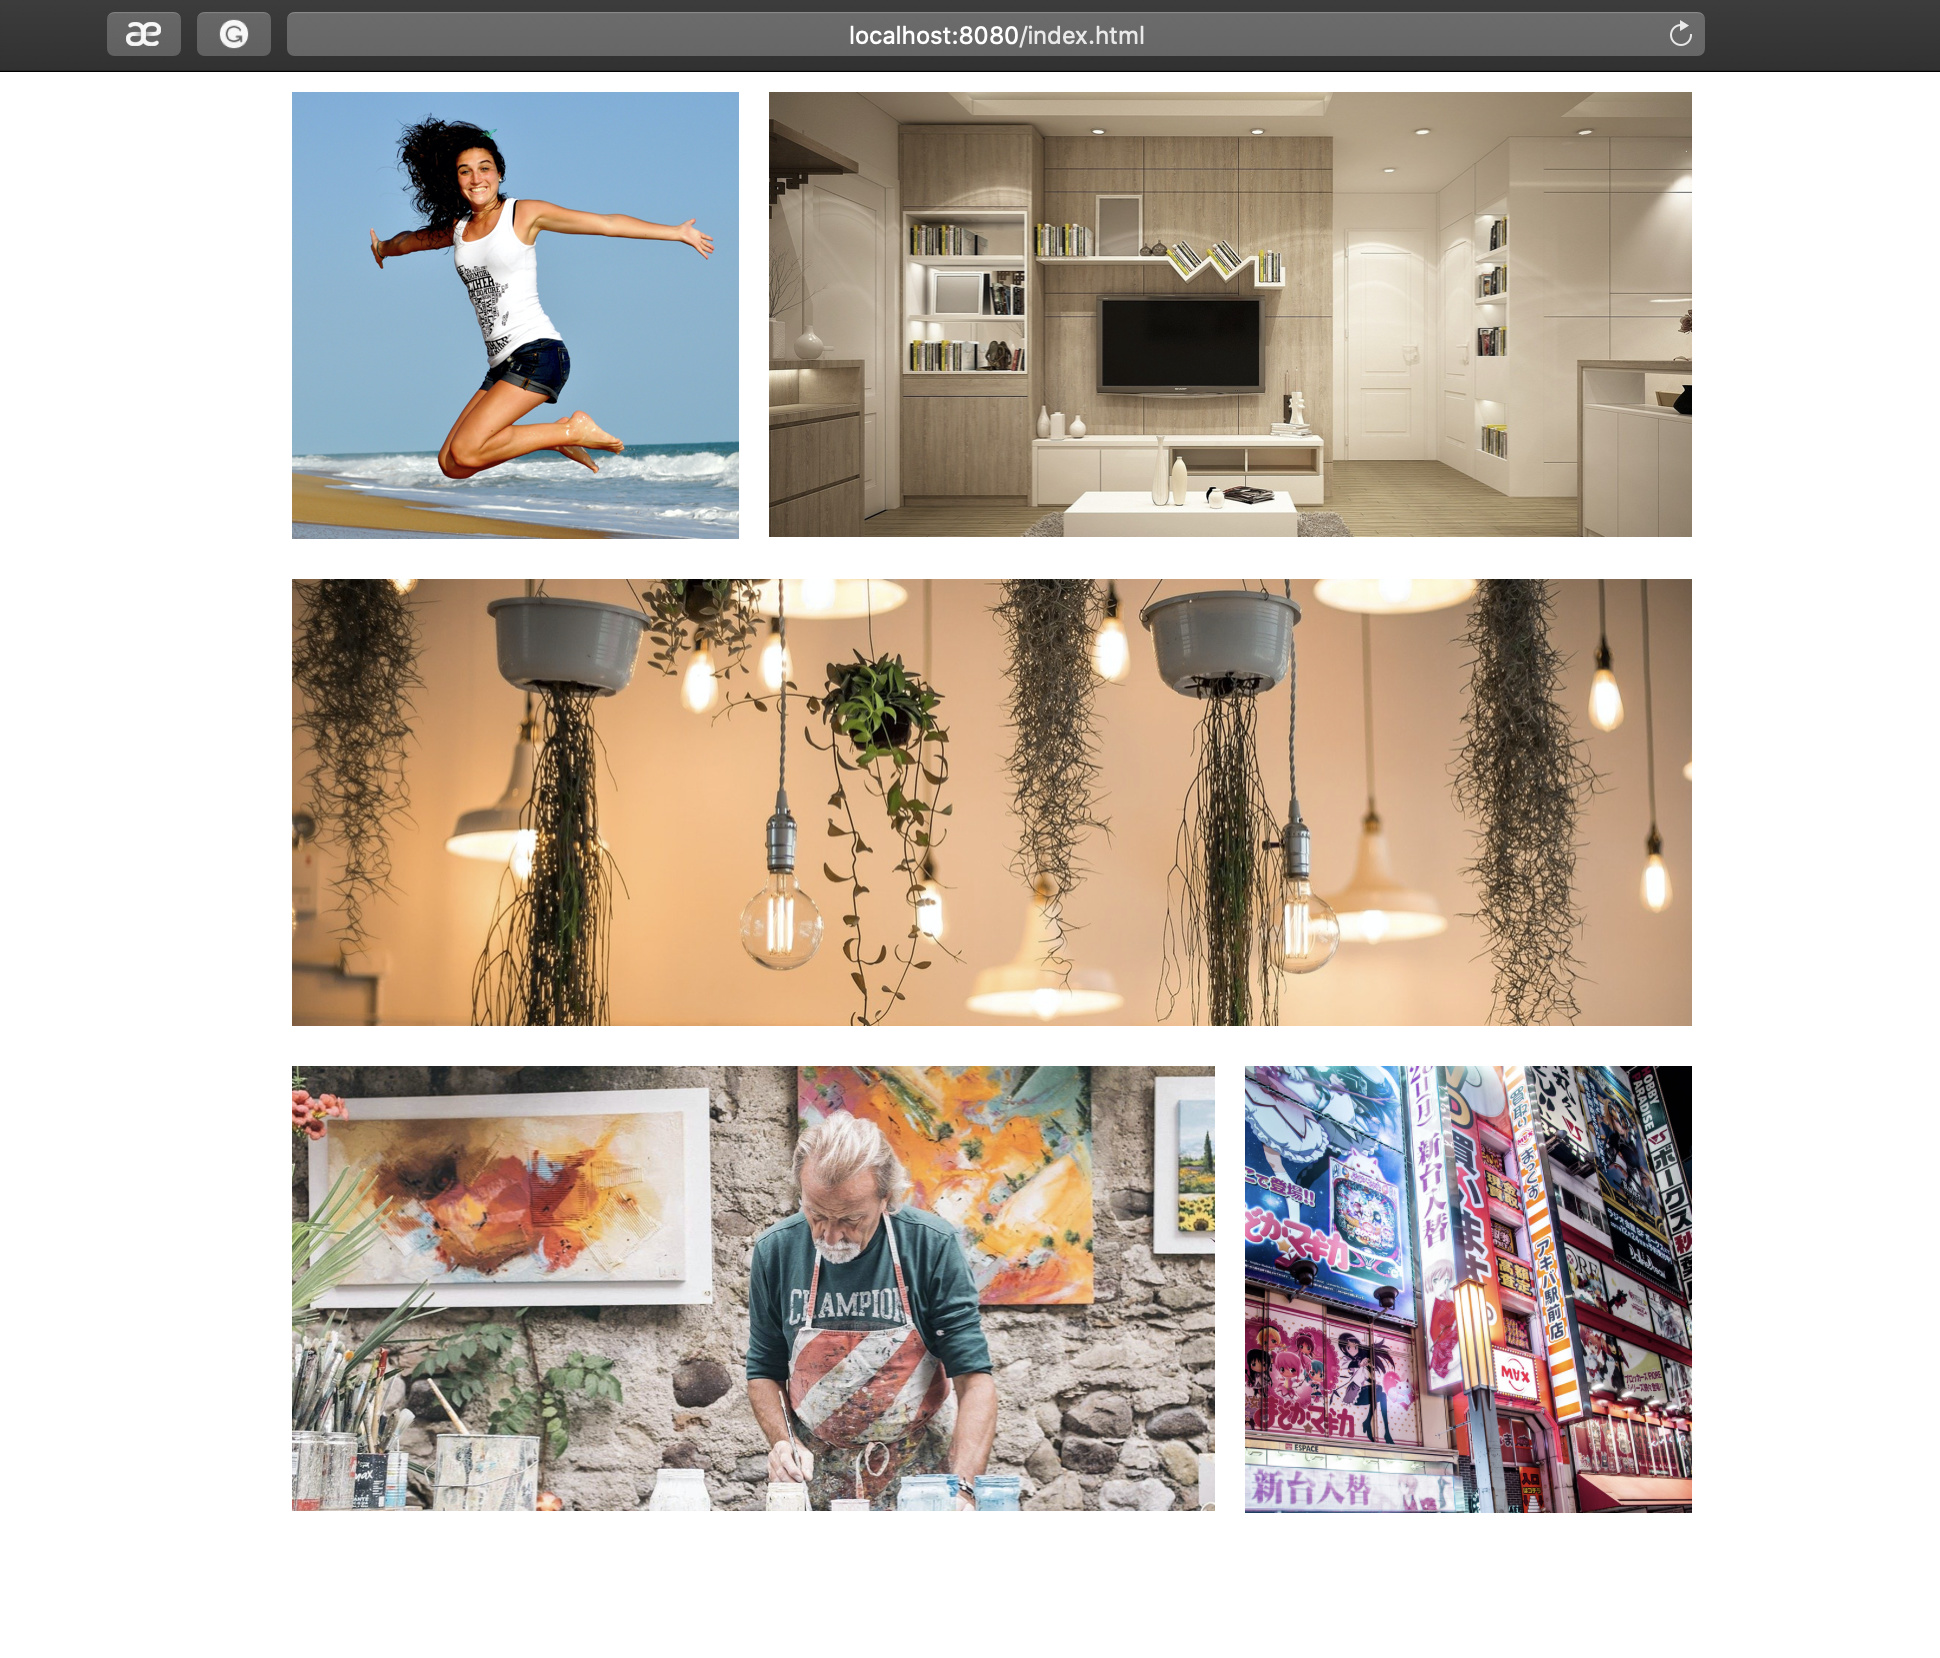
For this example, I used the 2column-sidebar blocs one left and one right. The bloc in the centre is a standard 1 column structure bloc.
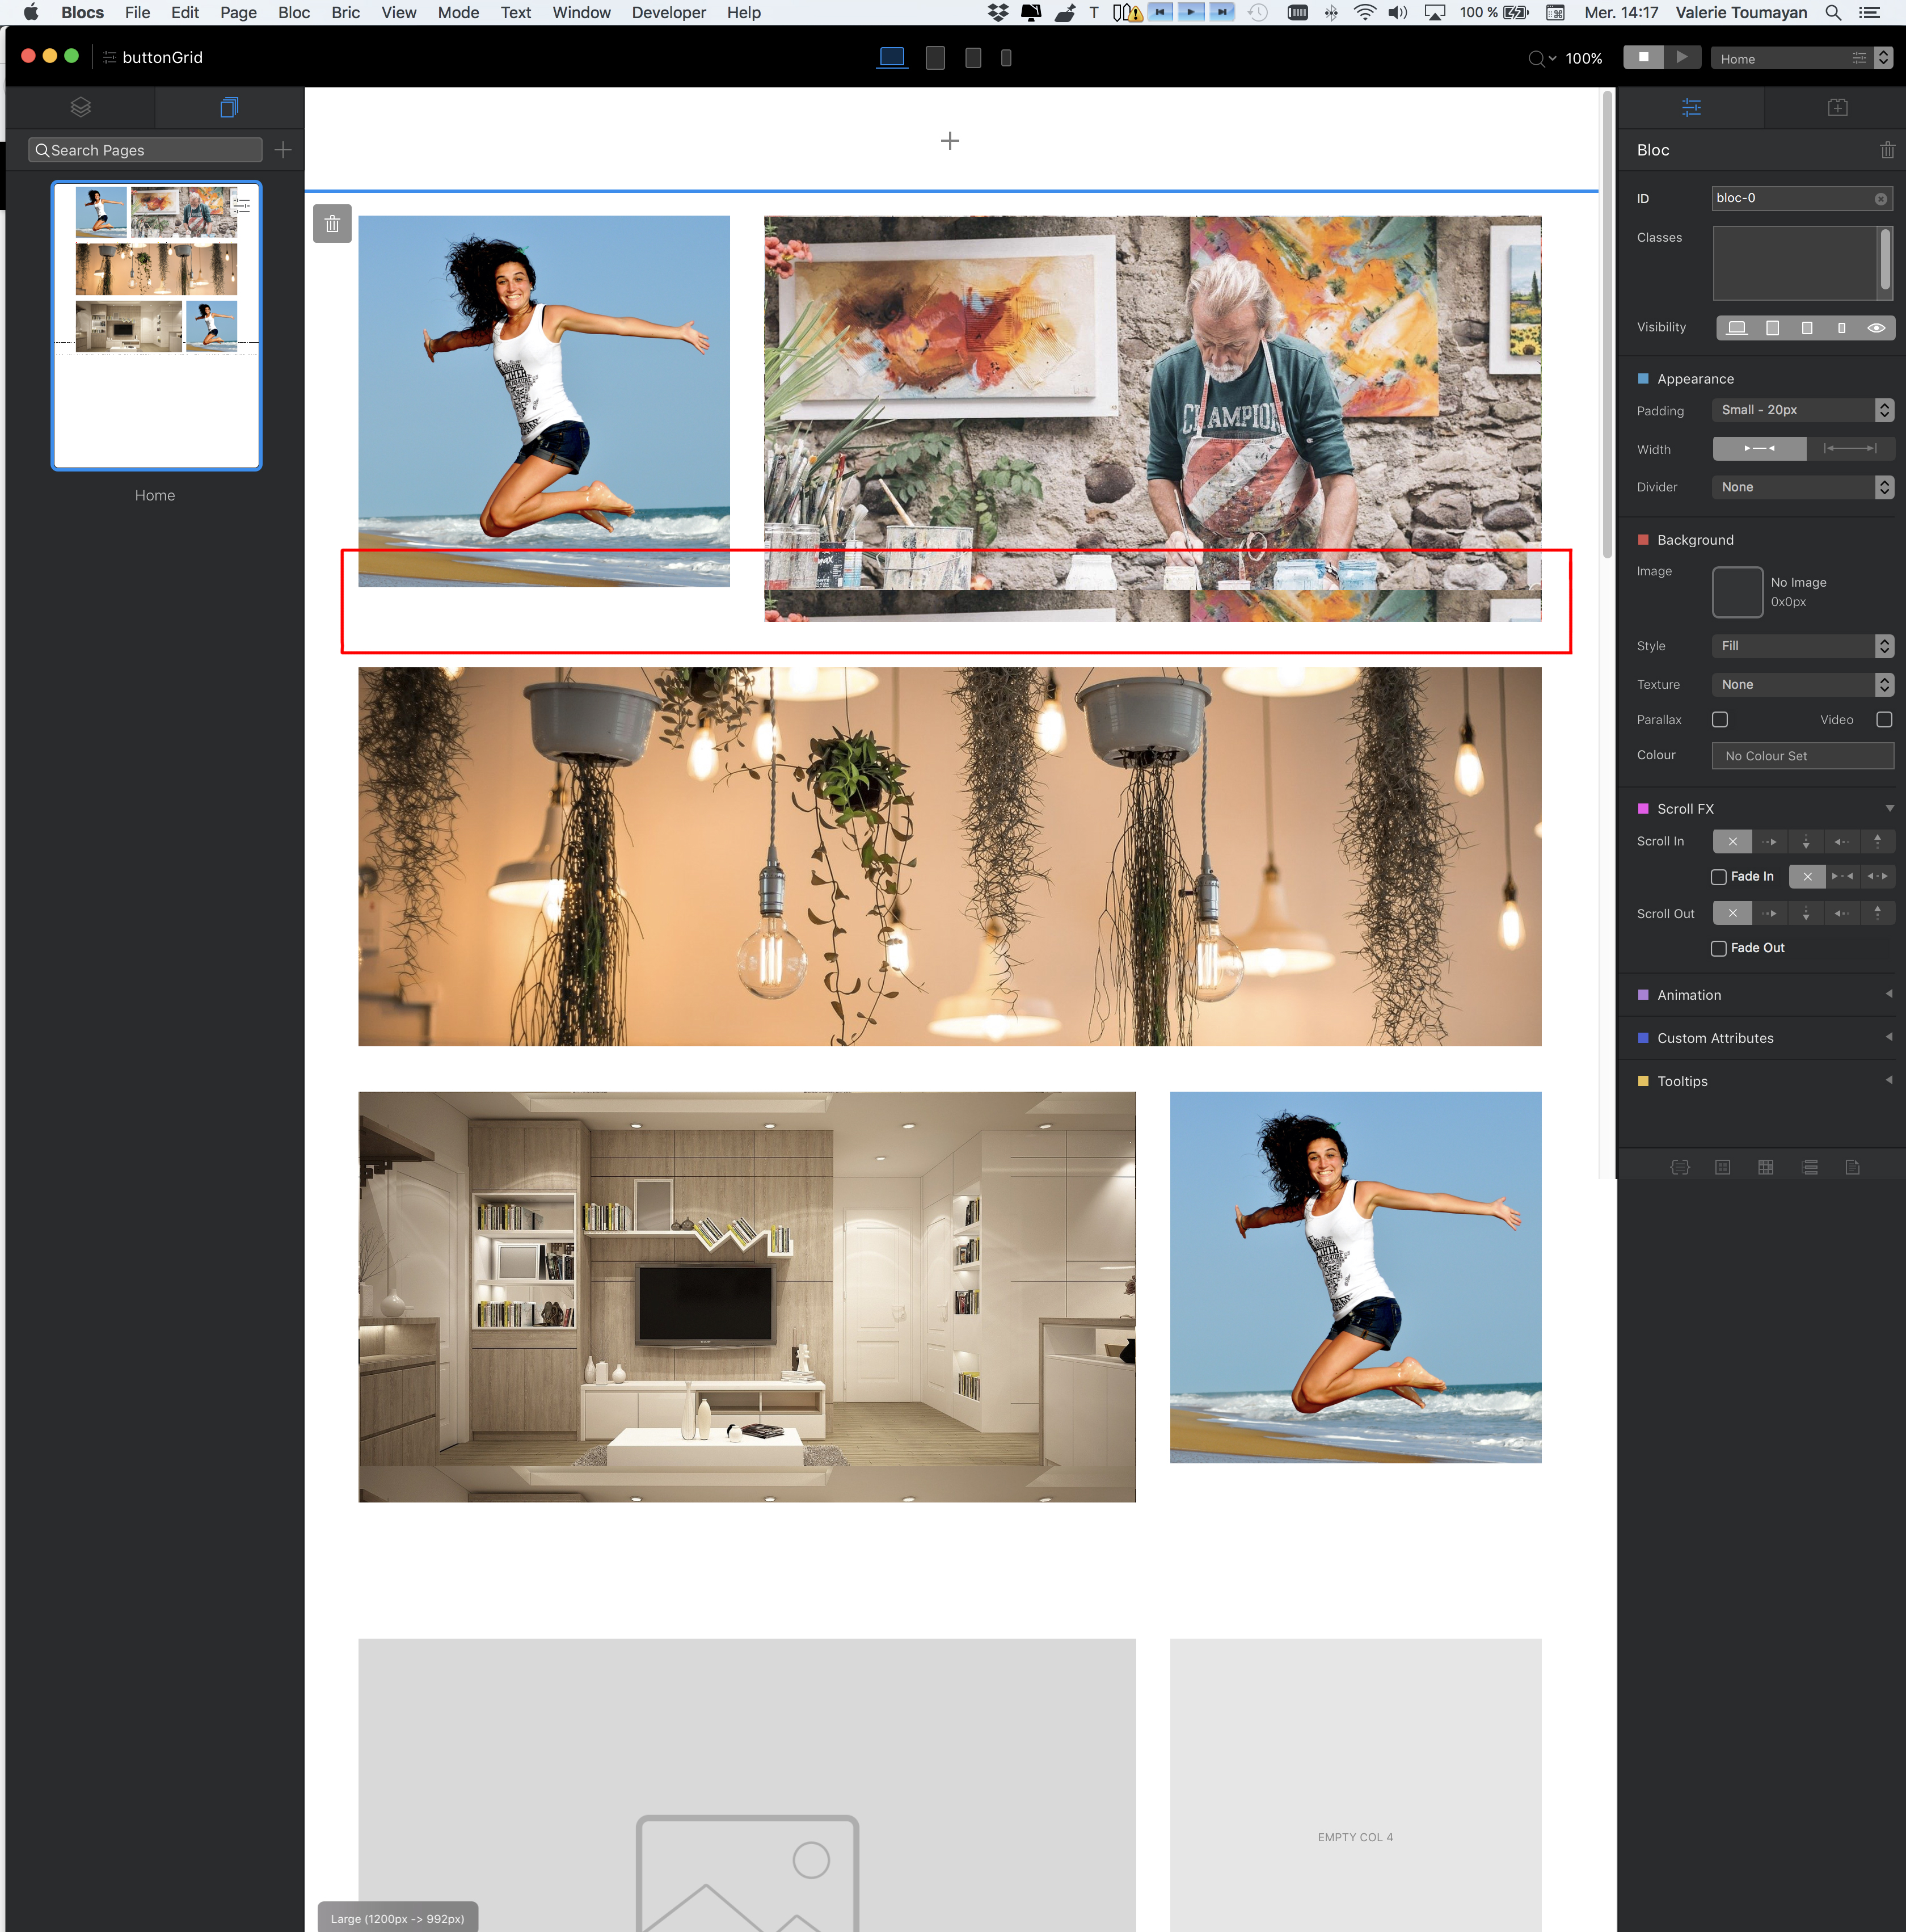
The dimensions of the images will be dependent upon the width of your site. To establish the image sizes, place an image bric into each of the columns in your blocs. In one of the smaller placeholders, place one of your square images. Make a note of the dimensions of the image, as shown below:
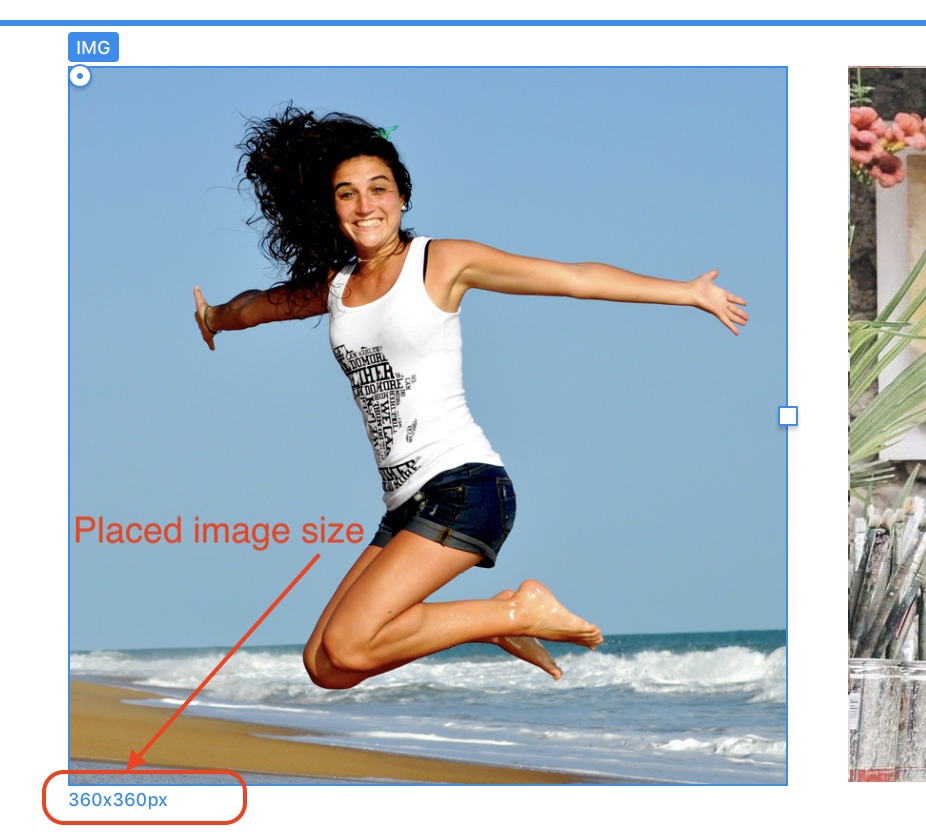
This tells you that your square images need to be 360 px wide and 360 px tall. They can be bigger but the height and the width MUST be in proportion.
Do the same on your wider column, place an image bric in the column and make note of the dimensions.
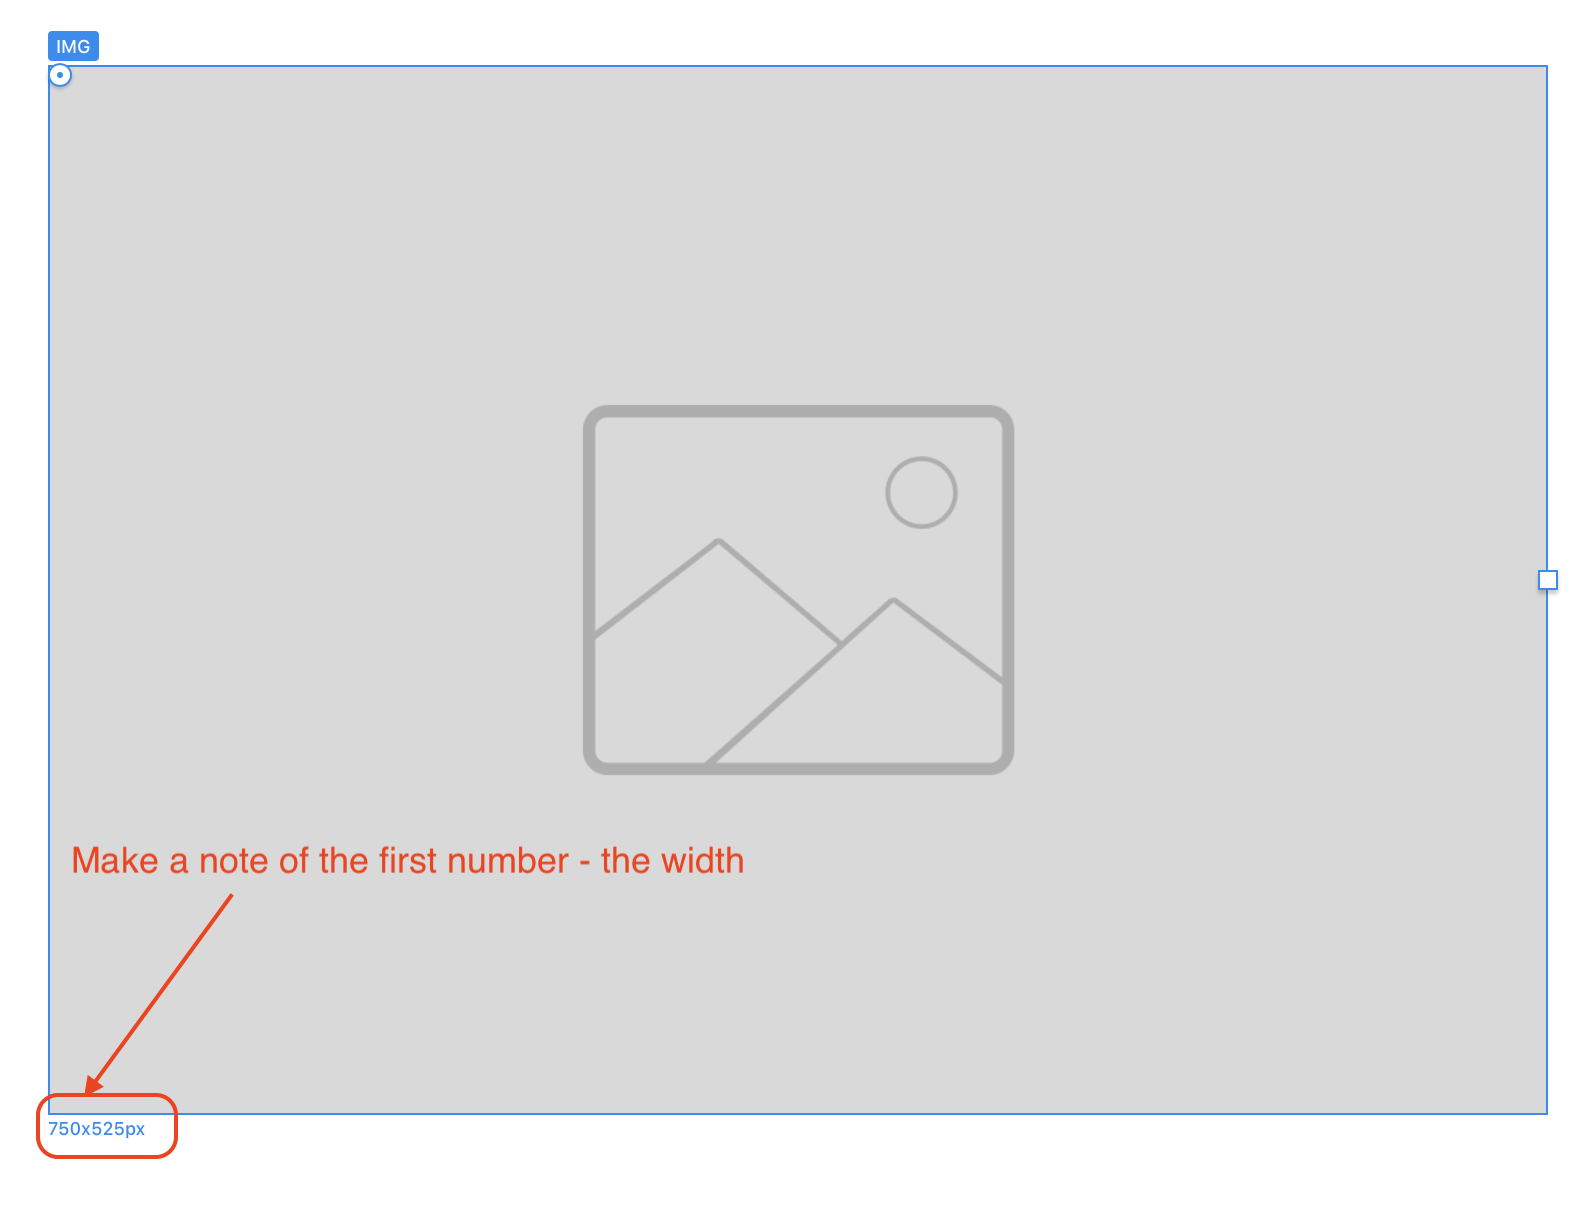
Don’t worry about the height - this is simply showing the height of the placeholder image. The important one is the width (in the above example - 750 px.
This tells you that your wider images need to be 750 px wide in order to fit the width of this column. The hight of your wider images has to be the same as the height of your square images, so create your images to be (in this example) 750 px wide x 360 px tall. This will ensure that the images line up correctly when placed on the page.
You do exactly the same for your full width images. Place an image placeholder in a full width structure bloc and make a note of the WIDTH - forget the height. You would now create a full width image to the same width as the image placeholder x 360 px.
Now place all your images and you will see they are all perfectly aligned with each other.
You would next replace the images from the columns where you want buttons with button brics. Set the buttons to full width, square corners and no-style. Drag the bottom handle of the buttons so that the button is the same height as the adjacent square image. at this point you should remove the button label:
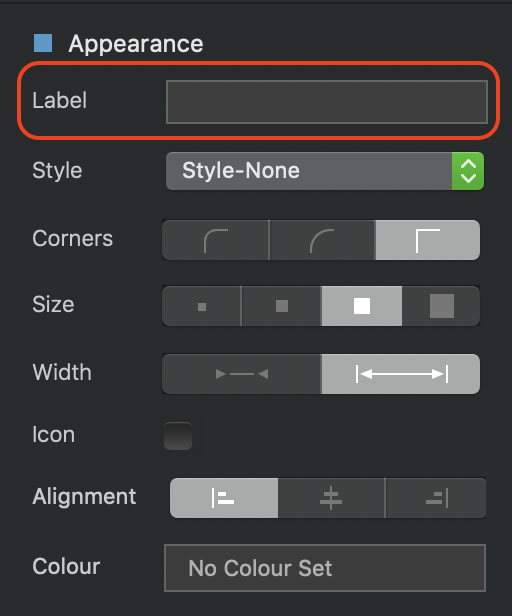
Readjust the height of the button if necessary.
You will notice that Blocs creates a custom class automatically for you. It looks like this:
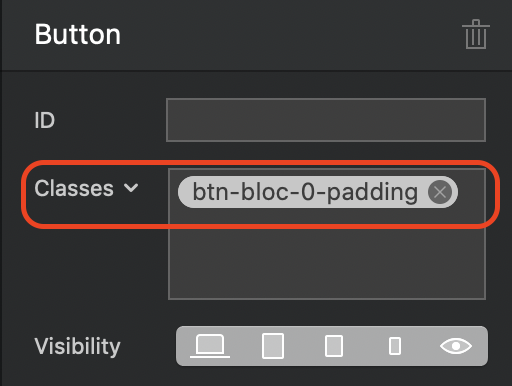
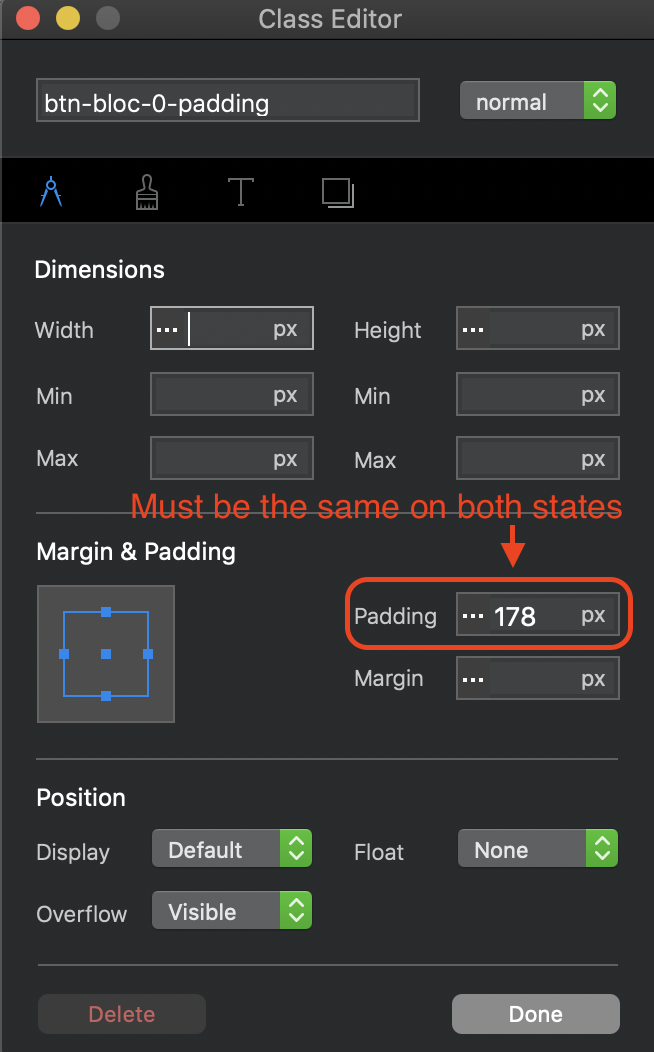
Click on this class to edit the button class in the class editor. In the paint brush tab, add the images for normal and hover states. Ensure that the size is set to 100% width and no-repeat. Whilst the class editor is open, check the metrics tab to ensure that the padding is the same for both the normal and hover states.
I’ve attached a link to my example bloc file for you to see how everything has been set up. If you open the asset manager you will be able to drag the image assets onto your desktop to check the actual dimensions of each image used in the project.
1 Like
ok i did excatly what you told me in the begning of you msg
i put my square image, noted the height. i create the new image or the left, note the widht, and create the thumbnail with that widht and the other one’s height. here’s the result…!
??? i’m loosing my mind here
Because I cannot recreate this issue, I suggest you file a bug report and send your project file so that the developers can take a look. It may be an issue with your particular installation. Just out of interest, have you tried setting up your page with the default page-width setting of Blocs. It may have some bearing on what is happening if you are changing the page width. If it works ok at the default page width, you definitely need to file a bug report as that shouldn’t really have any bearing on matters.
which width of the project have you set up on your test?
even with the default width it looks the same
is it possible to send me your file, so i have a look, or maybe use it? it seems like i will never make this work
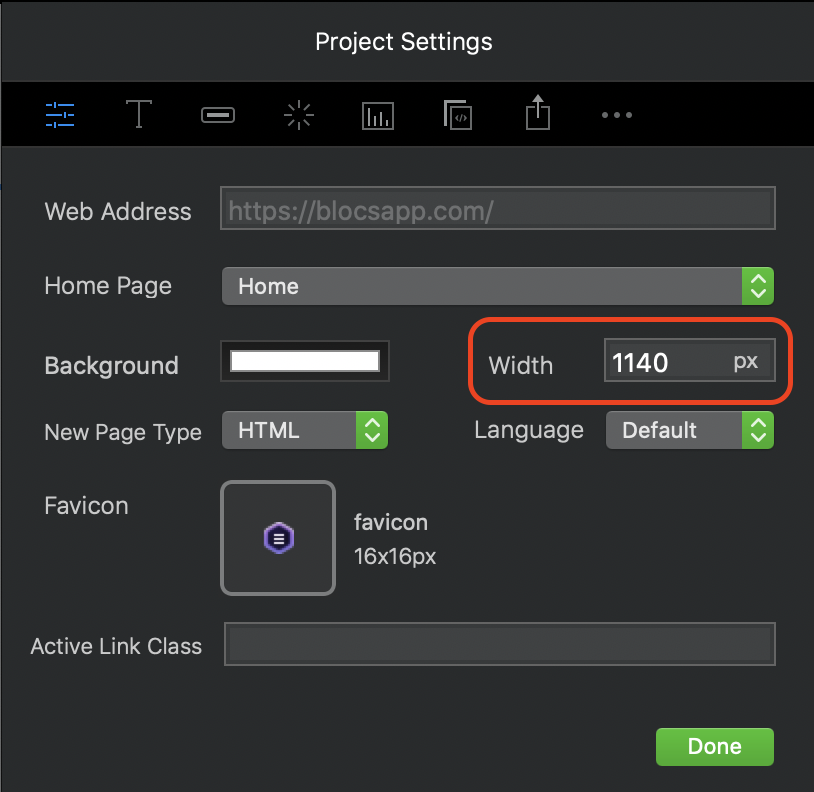
I posted a link in my post above. The width is 1140 - if you download the project file you will see the page width in the Project settings (top-right) of the interface.
i just saw that you put your project, thanks
i change my projeect to 1140 and doesn’t change…Very strange
Does my project look the same in preview as it does in design mode?. If there is a difference in appearance, as is the case with your project, it could have something to do with your particular installation - check it out and let me know.